Step 4
Slice a 2D cross section of the part
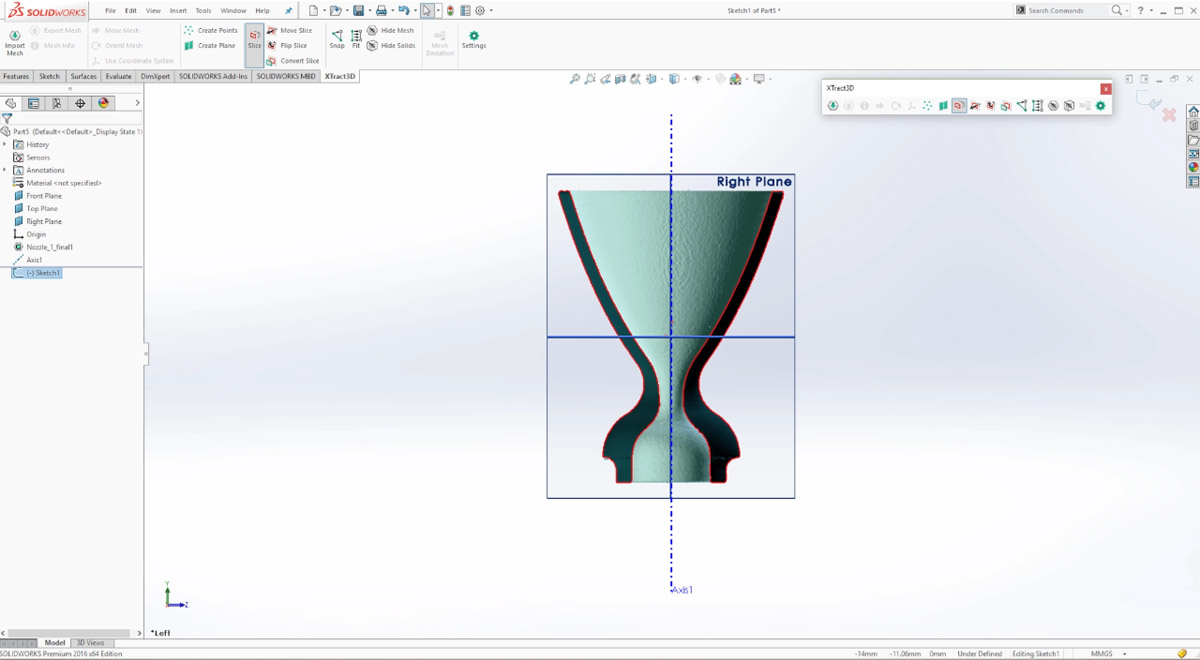
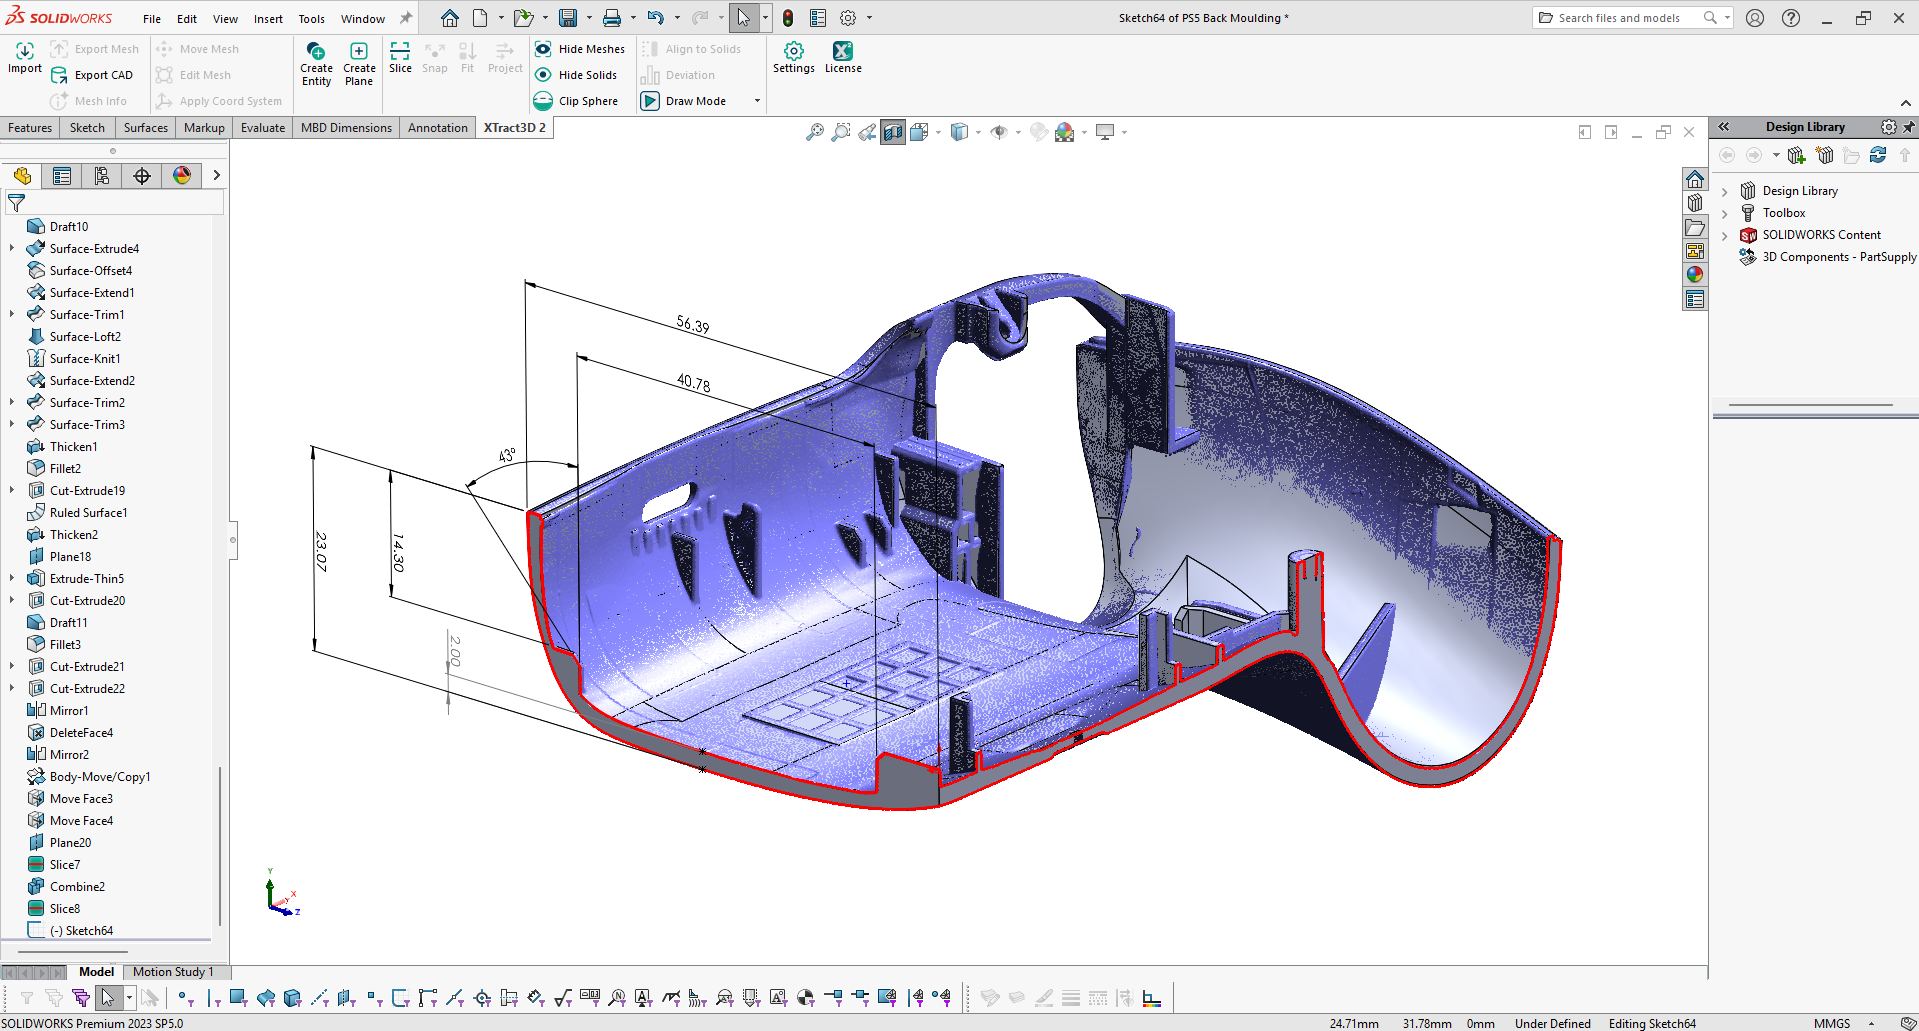
Slicing a 2D cross section of the 3D mesh creates a visible outline that makes it easy for sketching.
In order to use the scan data as a reference for sketching, we cut a 2D cross section of the nozzle using Xtract3D’s Slice tool, which slices down the center of the part. We can use either the Front or the Right plane as our sketch and slice plane. This is easily done because we centered and aligned the part in the previous step.

This gives a nice red highlighted edge that shows the boundary of the part as shown. It makes it easy to trace the outline as a reference sketch in the next step.
Tip for Slicing Part with XTract3D
XTract3D has a set of tools to slice the part in different ways so you can get a clear outline of the part. The plug-in provides the flexibility of moving the position of the 2D slice up/down, left/right so you can control how you slice the part and where you want the final Sketch plane to be. This also gives you lots of flexibility to get information not just from one plane, but multiple slicing planes.
