Turbo Charge Accuracy of HDI 3D
Over this past year, our team has been busy updating many areas to FlexScan3D, our proprietary 3D scanning software. Our intention was to make improvements to FlexScan3D under the hood to further enhance the 3D scanning experience. One of the focus areas we’ve been adamant on improving is scan data accuracy. While it’s not a visually exciting to show, 3D scanner accuracy is very important factor to many of our customers using HDI 3D scanners, especially when it comes to metrology applications.
Our team has been successful in calibrating high accuracy HDI Advance and Carbon 3D scanners internally and we want our customers to achieve these same results, even for those who own earlier models of our systems.
To accomplish this goal, what we found that would help is to provide simplified tools for the calibration process. We introduced two key things:
- New calibration boards
- Tune calibration feature
If you already own a HDI 3D scanner or a system that uses FlexScan3D as the scanning engine, here’s how you can use the latest version of FlexScan3D to significantly increase your system’s accuracy.
Higher Accuracy Calibration Boards

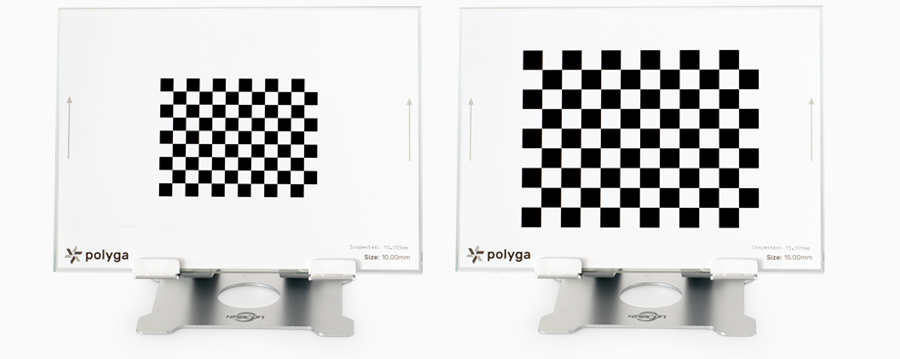
Calibration boards are critical for defining your 3D scanner accuracy.
As a result, we’ve developed new higher accuracy calibration boards that are optically inspected and certified. If you have an older calibration board that is a few years old, it’s likely out of specification now. As time passes, the paper and glue on the calibration board will deform and stretch due to environmental conditions. As well, the latest calibration boards have new inspected values, and not just nominal ones that should give you the best output.
Tune Calibration
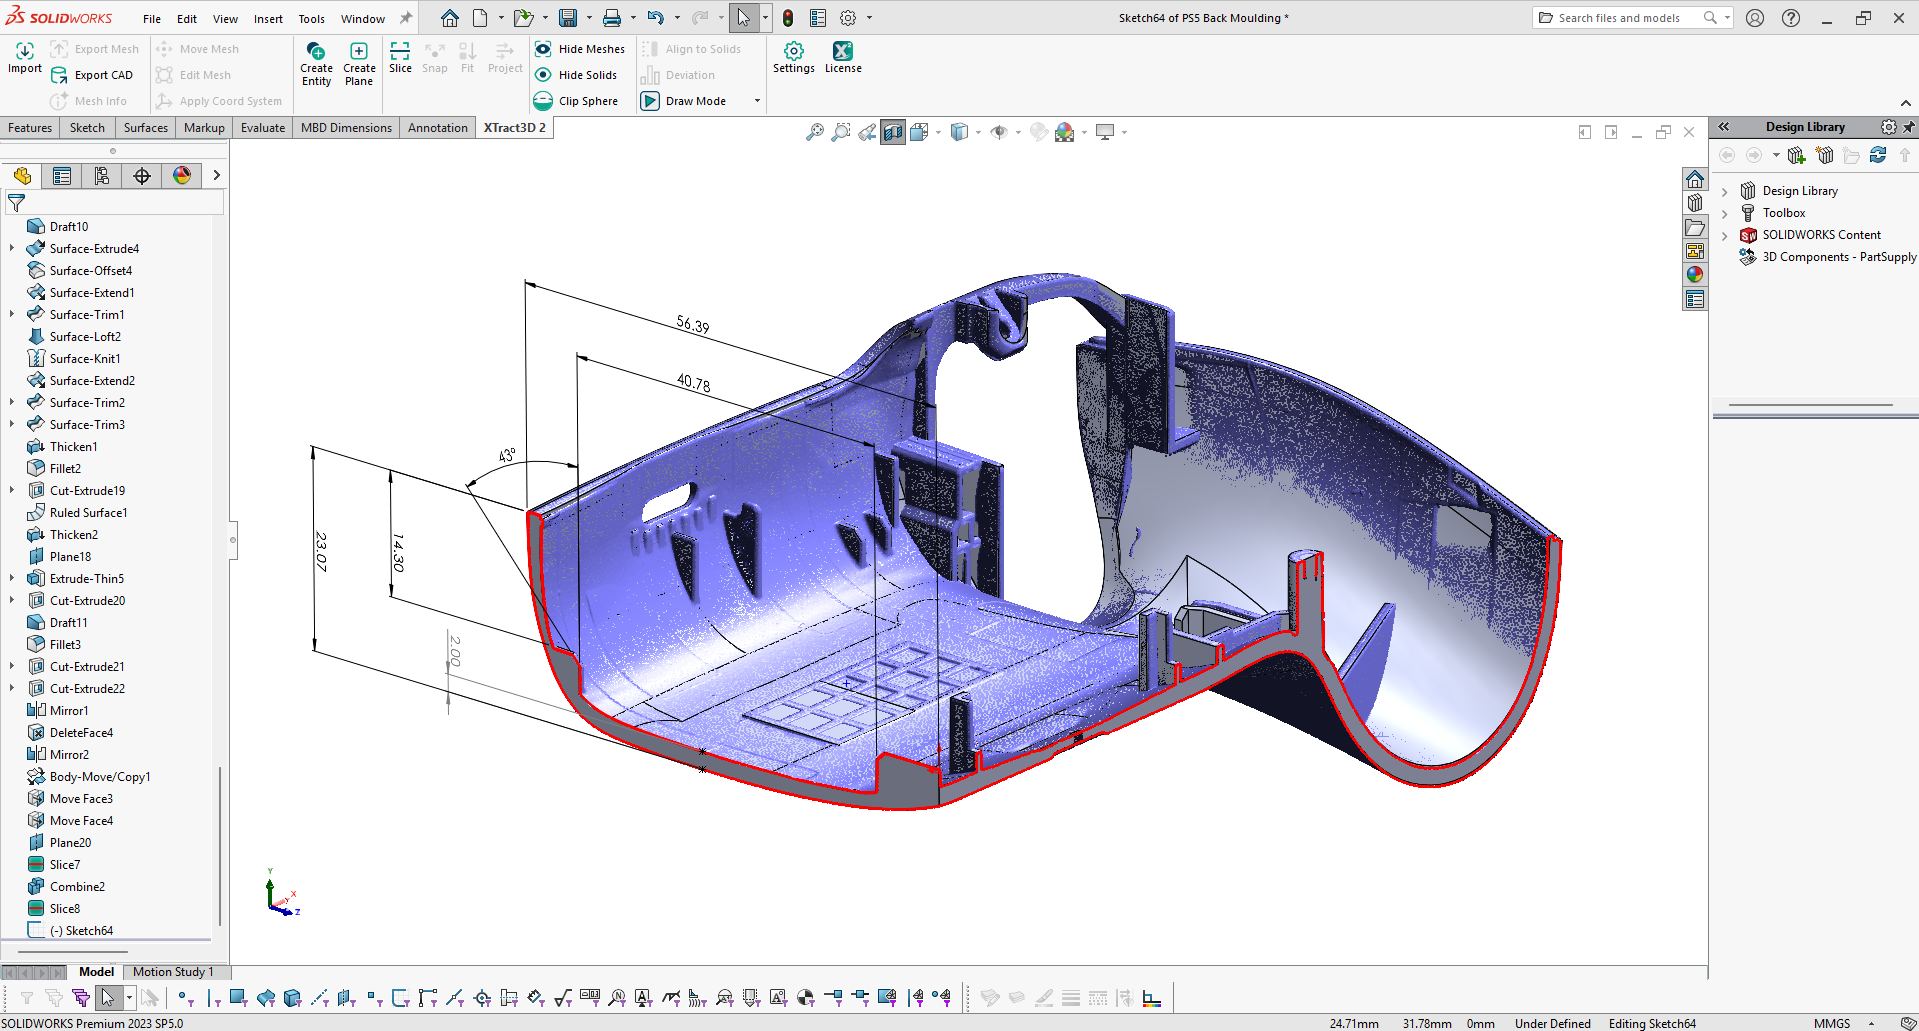
Starting from FlexScan3D 3.3.11.x to the latest version, we’ve also launched a brand new tune calibration feature that gives you significantly more tools to accurately adjust your scanners’ calibration using any calibration artifact, not just a ball bar as in previous versions of the software.


This new tool allows you to use the measurement geometry interface to create measurement points that can fine tune the calibration value for the scanner. You can even manually override the settings.
With this workflow, we’ve found it to be much more effective than our previous method of calibration adjustment of automated global tuning using ballbars.
The Test
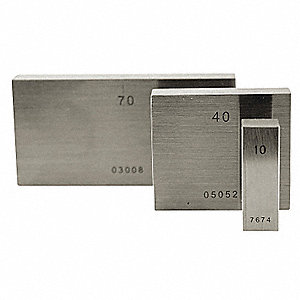
Just by doing these few steps, you can improve the accuracy of the HDI 3D scanner significantly. We ran some tests internally to see what kind of differences they would make when scanning a calibrated artifact. We calibrated an older HDI Advance R1x 3D scanner at roughly 450mm FOV and calibrated it multiple ways and scanned a 100mm ball bar as well as a 40mm gauge block.
First, we used a well-used legacy calibration board from LMI. This was one of our older board and had definitely seen better days. Next, we calibrated the scanner using a newer Polyga branded calibration board which is more in spec than the LMI one. However, if we use the plain value, it’s not as good as if we used its inspected value which gave us a better accuracy.
Lastly, we use the same board, but instead of using the inspected value, we used a straight 15mm value and then tuned it using our ballbar. When you tune it, it overrides the input value with the tuned value to give the best results.
This is our recommended workflow currently in terms of getting the best accuracy out of your HDI 3D scanner. If you don’t have a calibration artifact, using the inspected value (e.g. 15.015mm) on the new Polyga calibration board would give you more than acceptable accuracy. If you have do a calibration artifact that’s certified, use either the nominal or inspected value on the new Polyga calibration board with tuning would yield the best accuracy results overall.
Calibration Artifact (All units in mm) |
||||
Calibration Board |
Ball Bar Average |
Ball Bar Difference |
Gauge Block Average |
Gauge Block Difference |
|
LMI |
99.852 |
0.148 |
39.78 |
0.22 |
|
Polyga |
99.916 |
0.084 |
39.85 |
0.15 |
|
Polyga |
100.029 |
-0.029 |
39.94 |
0.06 |
|
Polyga |
100.006 |
-0.006 |
40.006 |
-0.006 |
Keep in mind the highly tuned calibration value is best for during the period after you calibrate. The 3D scanner will not hold those precise values as it will settle out to meet our target accuracy values as you move around and use the scanner. If accuracy is critical for your application, you should calibrate your scanner regularly.
Tips For Optimizing the Accuracy of Your 3D Scanner
Here are my quick tips to maximize the accuracy of your existing HDI 3D scanner:
- Replace any old calibration boards with a new certified Polyga calibration
- Use the new Tune Calibration tool found in the latest version of FlexScan3D
- Get a scanning artifact (e.g. a ball-bar) that have known dimensions
- If you’re using older cameras or lenses, it might be time to update them. Usually using new equipment makes huge difference to the results.
Everyday at Polyga, we are looking for ways to improve not only our latest products but products that we’ve sold and supported for years. With this new information and new FlexScan3D features, I hope you can also turbo-charge your existing HDI 3D scanner.
*All scanners accuracy is tested using against NIST traceable artifacts using standardized testing methods. In this case study we did an abbreviated version of standardized tests, and not the full certification process.
