Making Accurate 3D Measurements with your 3D Scanner
If you are using your 3D scanners‘s results as a basis for any form of decision making, it is important to first understand the accuracy of those results and how to accurately capture measurements from your 3D scanner.
Accuracy is defined as how close your optical instrument is at capturing the true value of an object. The better you are at calibrating the scanner, the more accurate the 3D scans will be.
If you are calibrating the 3D scanner yourself, it’s wise to verify the accuracy and quality of your scanner’s calibration. This is a relatively straightforward process. You simply need to first scan an object of known values. Some examples of test objects include: gauge blocks, tooling balls, calipers, and high accuracy rulers.
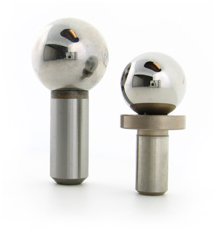
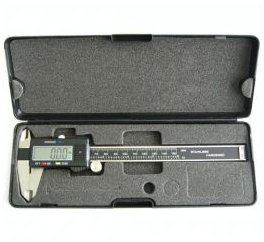
Conducting a calibration accuracy check generally involves comparing the actual measurements of an object and the measurements obtained from taking a 3D scan of the object. In Flexscan3D, you are supplied with several practical tools that enable you to check your accuracy after you’ve calibrated your scanner.
Scanning a known entity
Calipers are useful tools that allow you to obtain accurate measurements of your object. They are also a convenient tool for measuring scan accuracy. Once your caliper is set to the appropriate dimensions, simply take a scan with your 3D scanner.
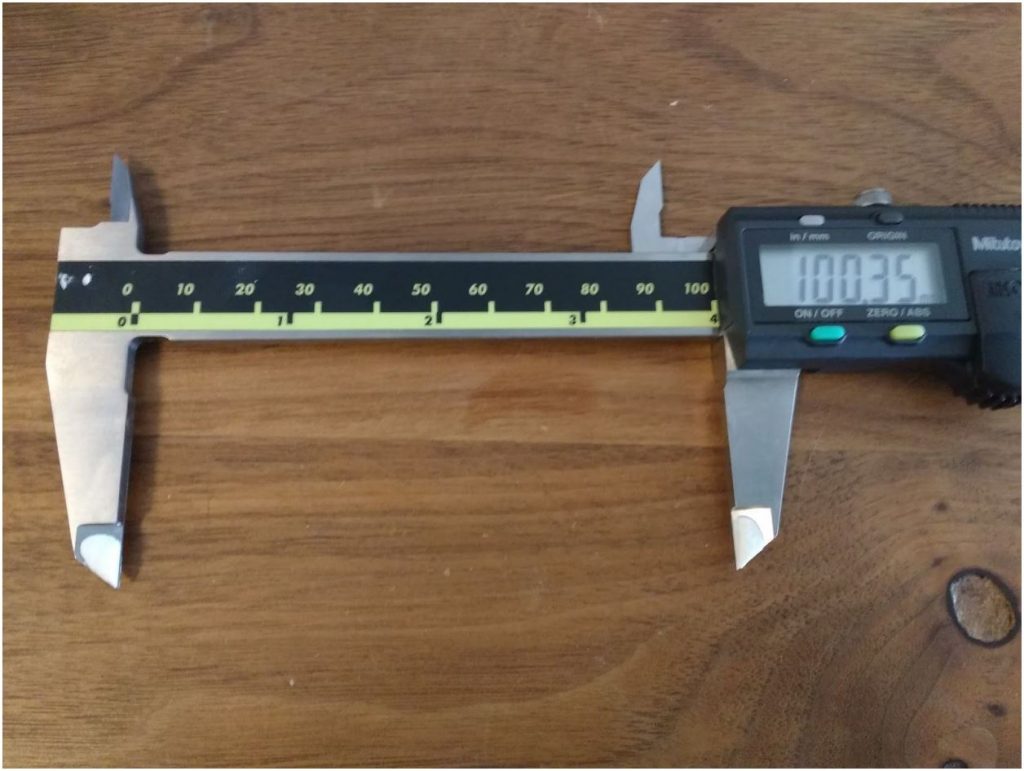
Once a scan is obtained, you can use Flexscan3D‘s Coordinate Tools feature to generate a measurement from one point of your caliper to the other. After generating a line entity within Flexscan3D, simply compare it with the actual value from your caliper. You now have your accuracy result. Using the Coordinate Tool, a measurement of 100.24 mm was obtained which was well within our error tolerance.
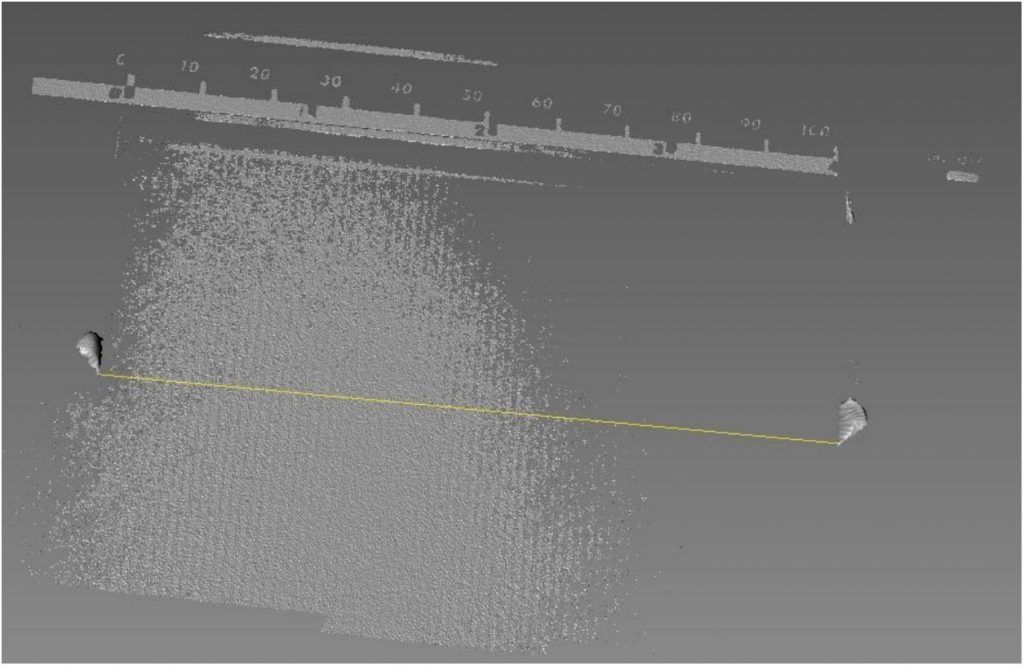
You can also use gauge blocks, which may require multiple scans and mesh alignment.
If you find that you are not within the error tolerance, then we recommend re-calibrating the 3D scanner carefully and to re-verify this process. This ensures you are getting the optimal level of accuracy that is expected of your 3D scanner. Calibration is not necessary if you’re using any of the pre-calibrated 3D scanners like the HDI Compact. They are already factory calibrated.
Flexscan3D Measurement Tools
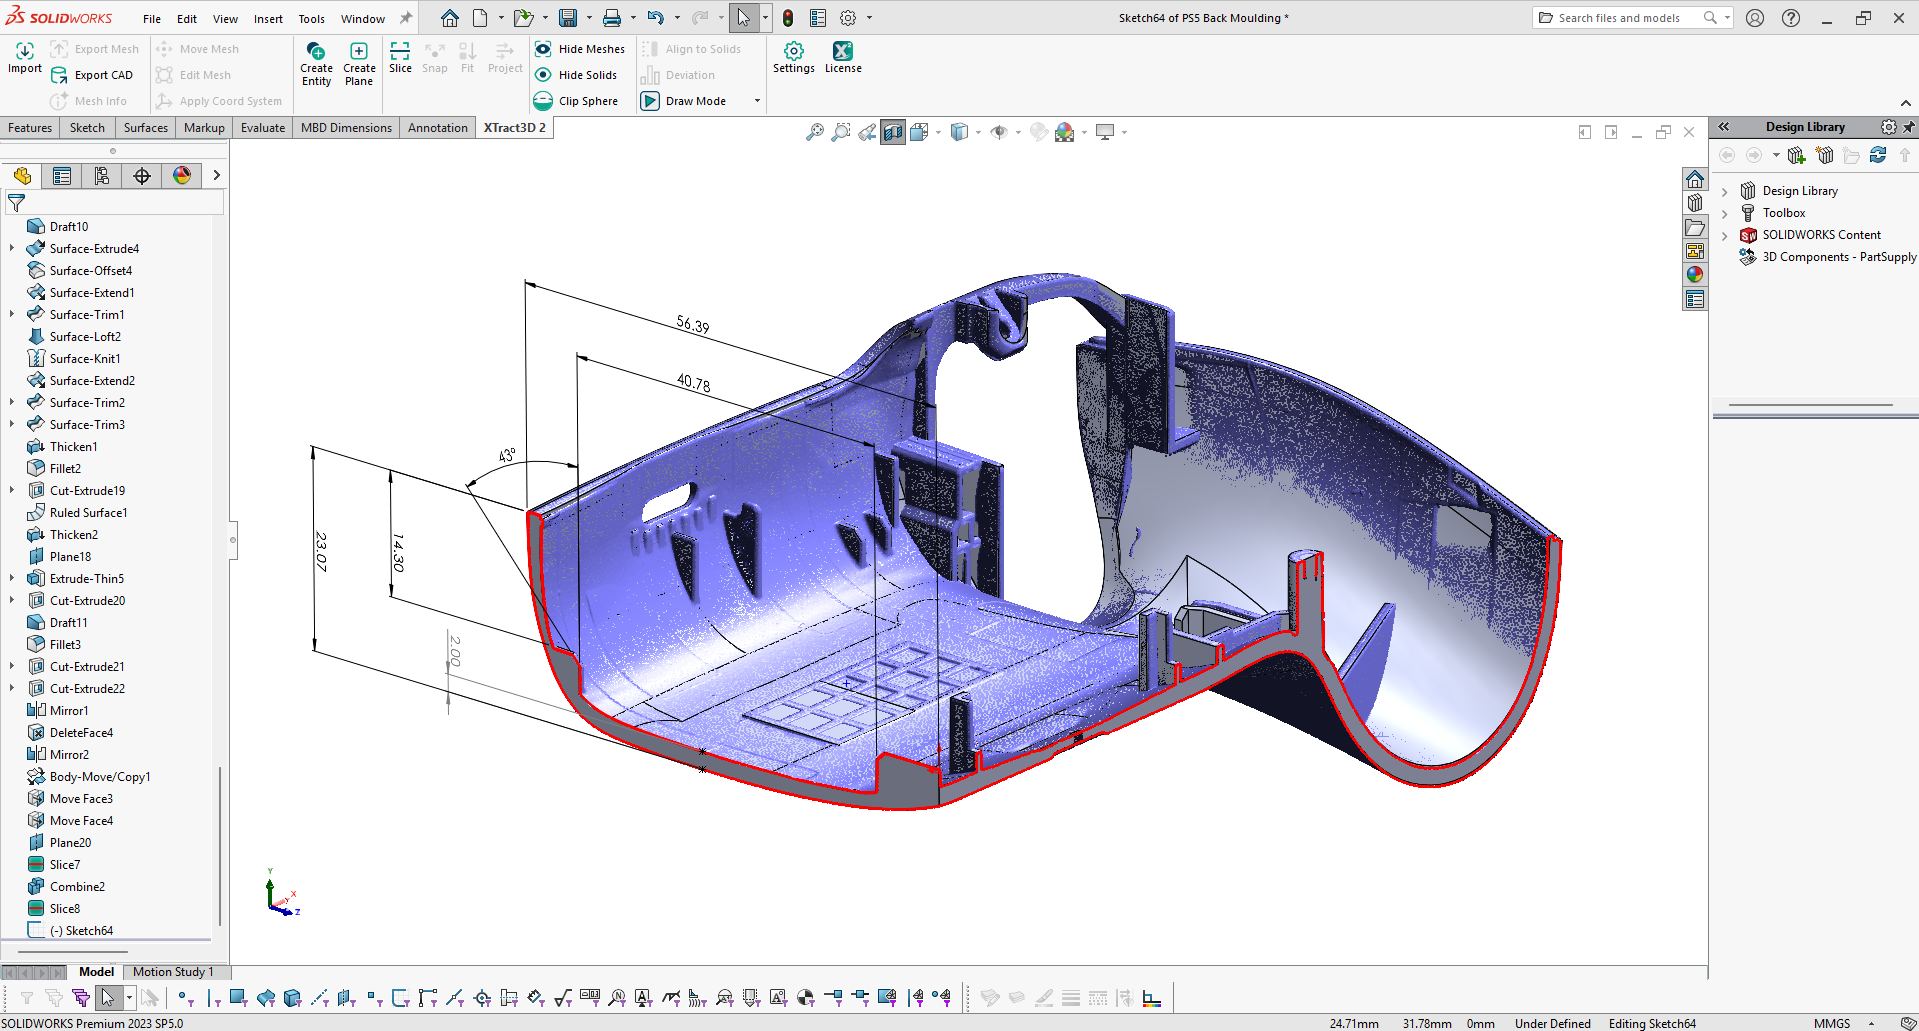
Flexscan3D’s built-in measurement tools allow you to generate points, lines, and planes on and around your 3D model. Using these entities allows you to obtain exact measurements of complex models. For example, say you wanted to obtain an exact measurement of the height of this Buddha figure. How would you do this?

First, Flexscan3D’s Coordinate Tools allow you to generate planes from mesh selection. Thus, the first step is to generate a plane on the bottom of the figure.

Once you have your plane, the next step is to generate a point at the very top of the figure’s crown.

After you have both a point and a plane, you can generate a projection of your point onto your plane using the point to plane feature. Doing so allows you to then generate a perfectly straight line connecting the two points, giving you your measurement.
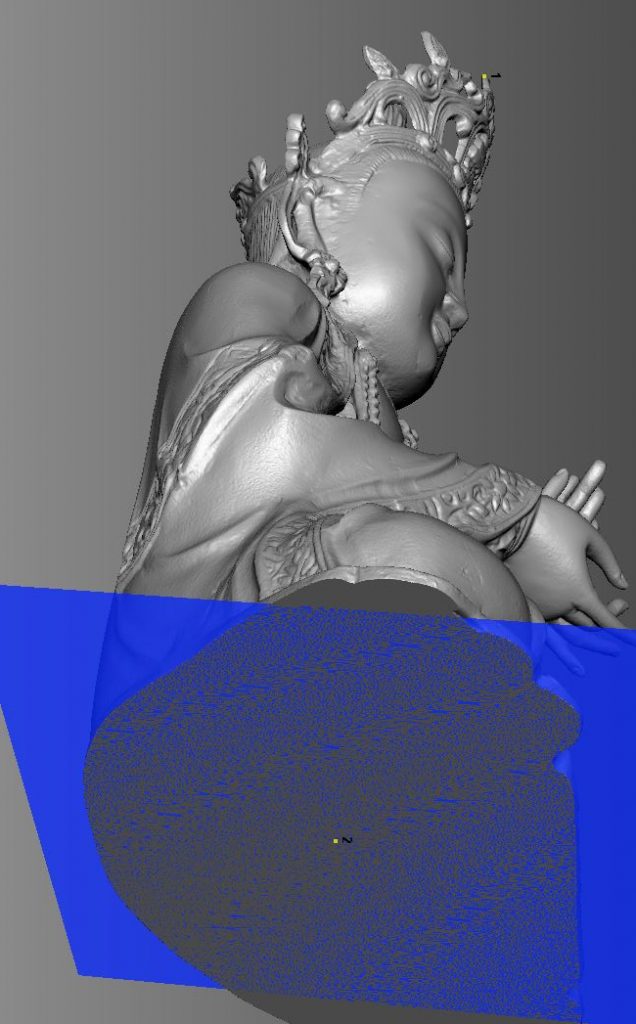

This is just one example from an array of different measurement functions available in FlexScan3D to extract measurements from your 3D models. The best way to learn how they work is to simple try them out!
