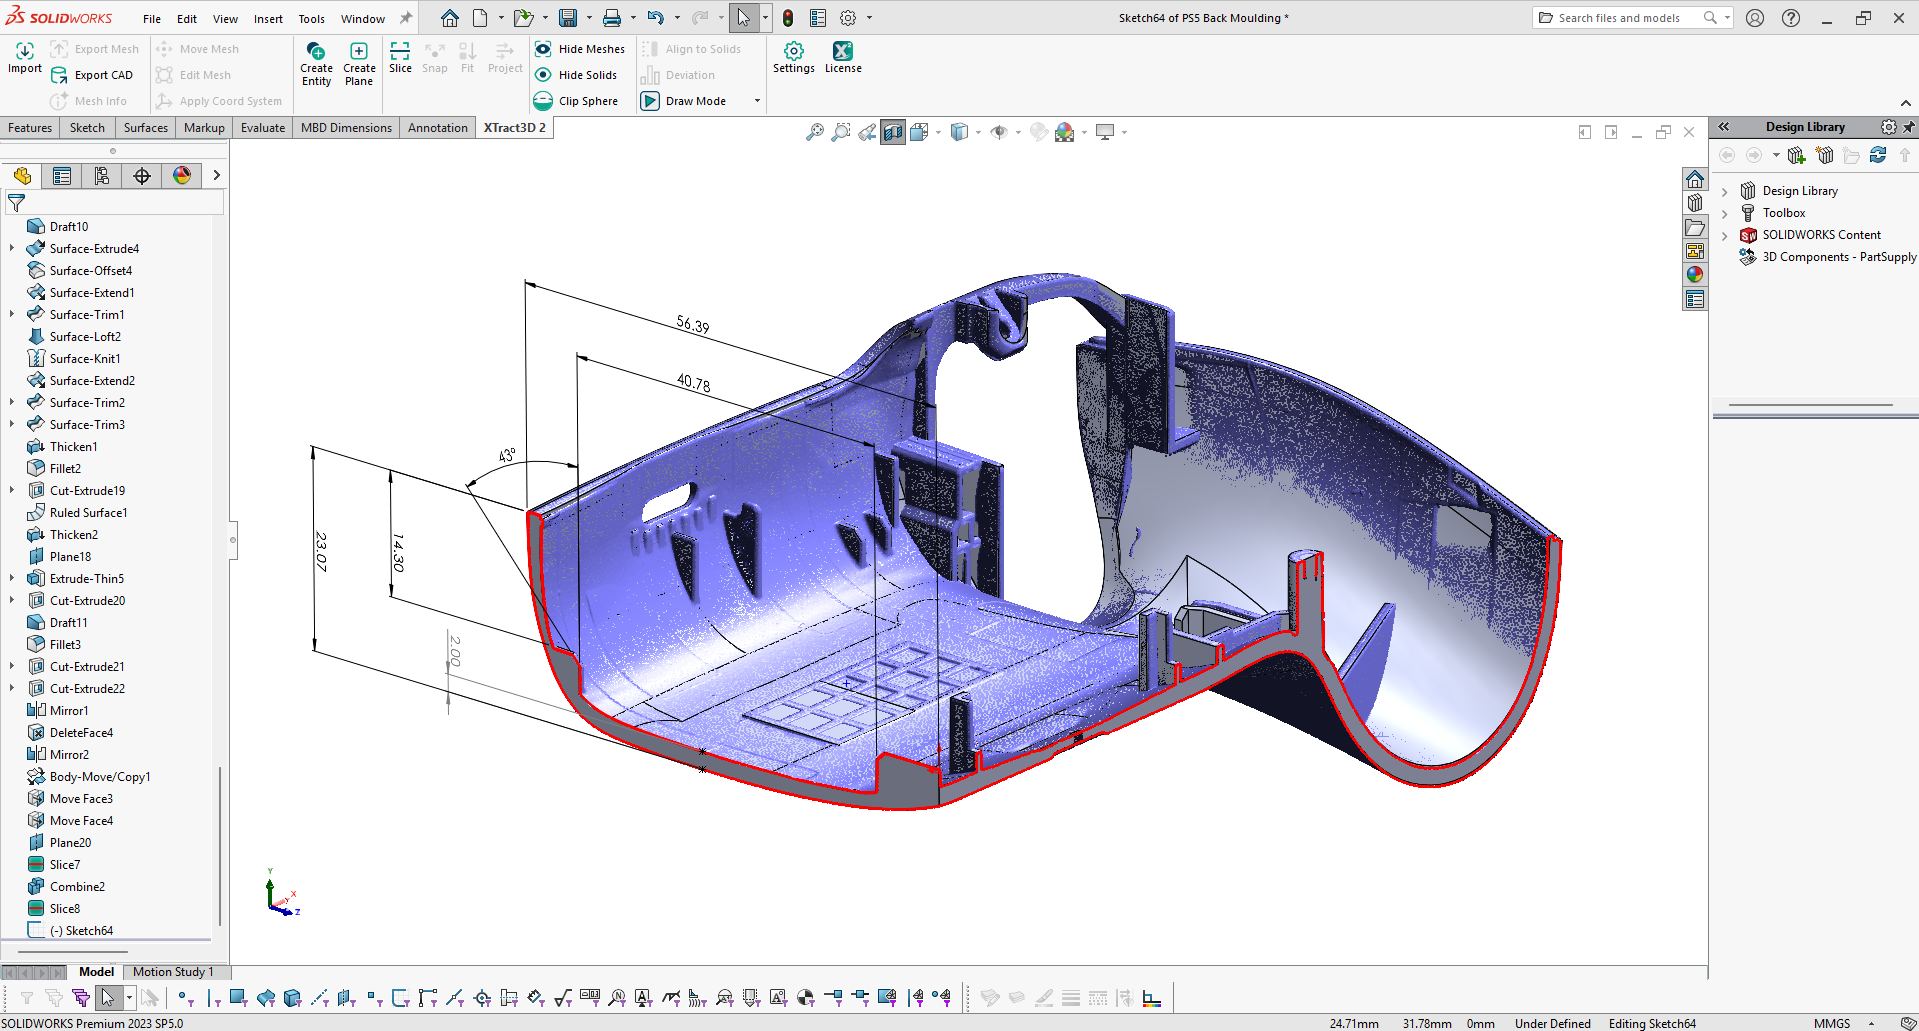
How to Capture Dimension When 3D Scanning
Traditionally, mechanical parts were measured using hand tools such as slide calipers, depth gauges, and precision rulers. Now, 3D scanners are increasingly being used by engineers for reverse engineering projects and measurement. Not only engineers but many companies can benefit from 3D measurements for speeding up their product development workflows and quality assurance processes such as research and development, transportation manufacturers and health companies.
Using FlexScan3D, you can capture accurate and detailed 3d models from real world objects. It gives you all the post-processing tools you need for aligning, merging scans, and measuring the full digital 3D model. You get the details of the physical object in the quickest time.
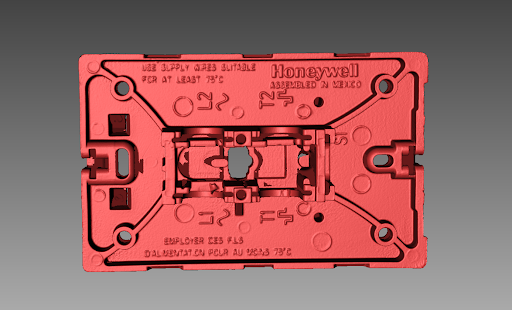
Measurement on the scanned data can be performed with different techniques. It depends on the geometric and dimensional characteristics of the parts. In this project, we will be measuring the radius of the hole by creating a circle from projected points.
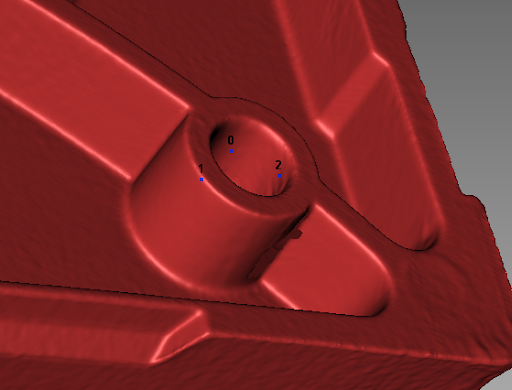
First, pick three points on the inside wall of the hole. Then, create a plane by picking the three points on the surface.
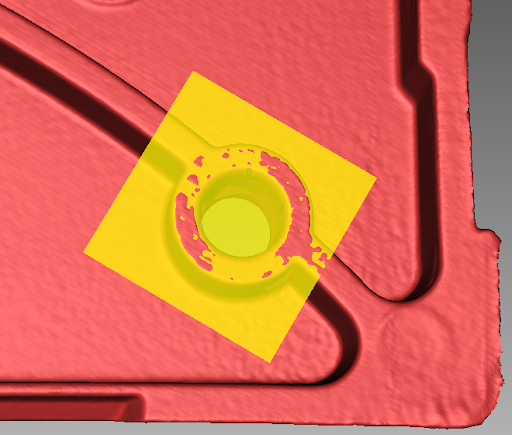
Next, project points to the plane by creating points by projection.

Lastly, create a circle from projected points and it will give you your measurement.
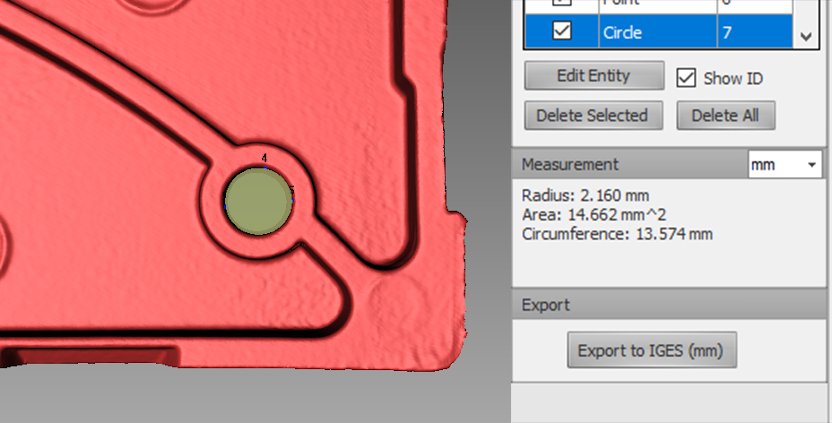
It is important to have precise and clear scan data that provides a better vision of the object. If the data you collect is noisy, you’ll get stuck performing multiple iterations.
There are more measurement functions available in FlexScan3D. Contact us at contact@polyga.com for further information.
