Blog: 5 Key Insights Gained from My First Experience with 3D Scanning
Introduction
Stepping into 3D scanning as a newcomer is an exhilarating experience. The world of 3D scanning offers a unique blend of technology, artistry, and innovation. As I embarked on my journey, I gained invaluable insights that shaped my understanding of the field of 3D scanning. Let me share with you insights and 5 Valuable Lessons I learned from My First 3D Scanning Experience.
Challenge
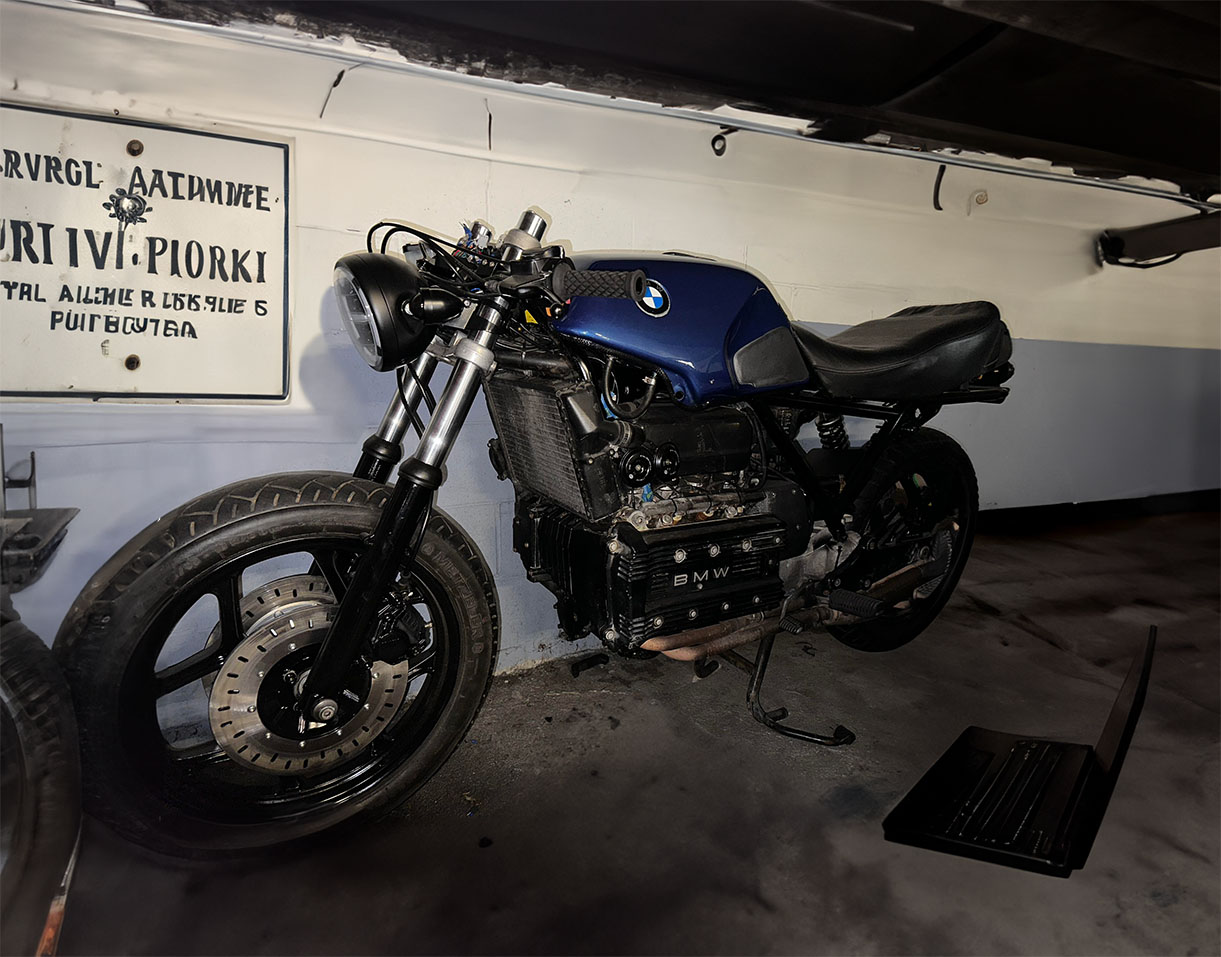
There are millions of aging vehicles and a finite number of replacement parts; many components are no longer produced leaving many vehicles out of luck; relegated to front lawns and scrap yards all over the world. Only so many used parts can be saved and stored for future use. The trouble is, after spending the time, the parts can have defects as well as dimensional and positional wear making them useless.
5 Valuable Lessons from My First 3D Scanning Experience
- Lesson 1: Lighting Matters More Than You Think
- Lesson 2: 3D Scanner Spray, Very Necessary
- Lesson 3: Patience Yields Precision
- Lesson 4: Navigating the Challenges of Complex Geometries with Live View
- Lesson 5: Post-Processing Is an Art of Its Own
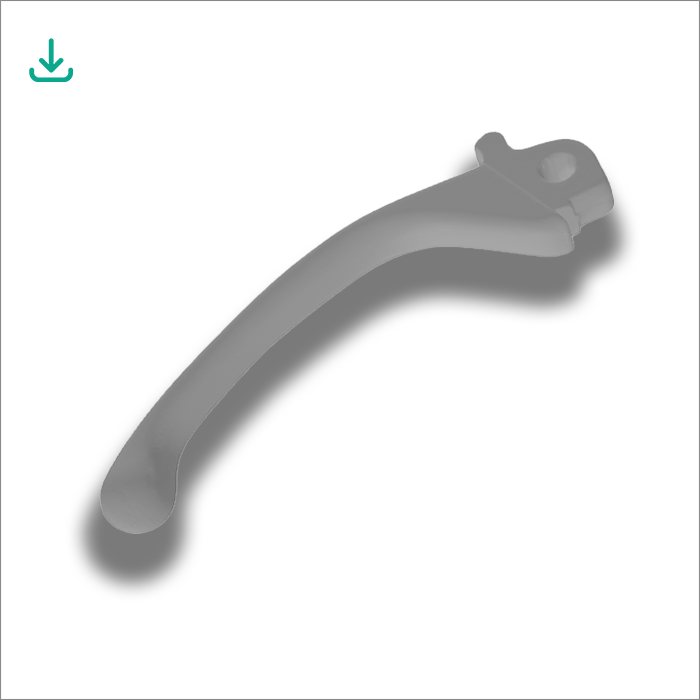
I wanted to challenge myself with a task that ignited both my passion for technology and history. Having recently struggled with sourcing parts for my 1986 BMW K100. I tasked myself with replicating a rare classic BMW motorcycle brake lever and sharing the data with anyone who might need one in the future. The fusion of technology and creativity can lead to remarkable results, but the learning curve can be steep; especially for beginners like me. Follow along with my successes and failures as I dip my toes into the ocean of possibilities. Here are 5 Valuable Lessons from My First 3D Scanning Experience.
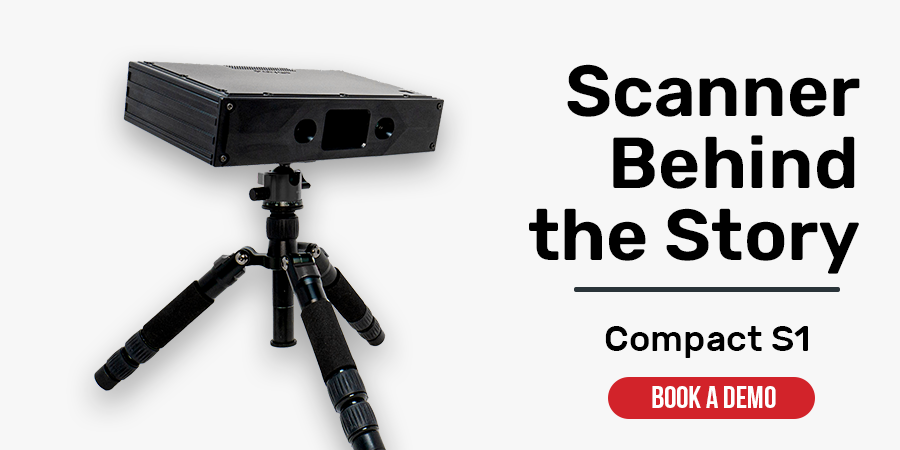
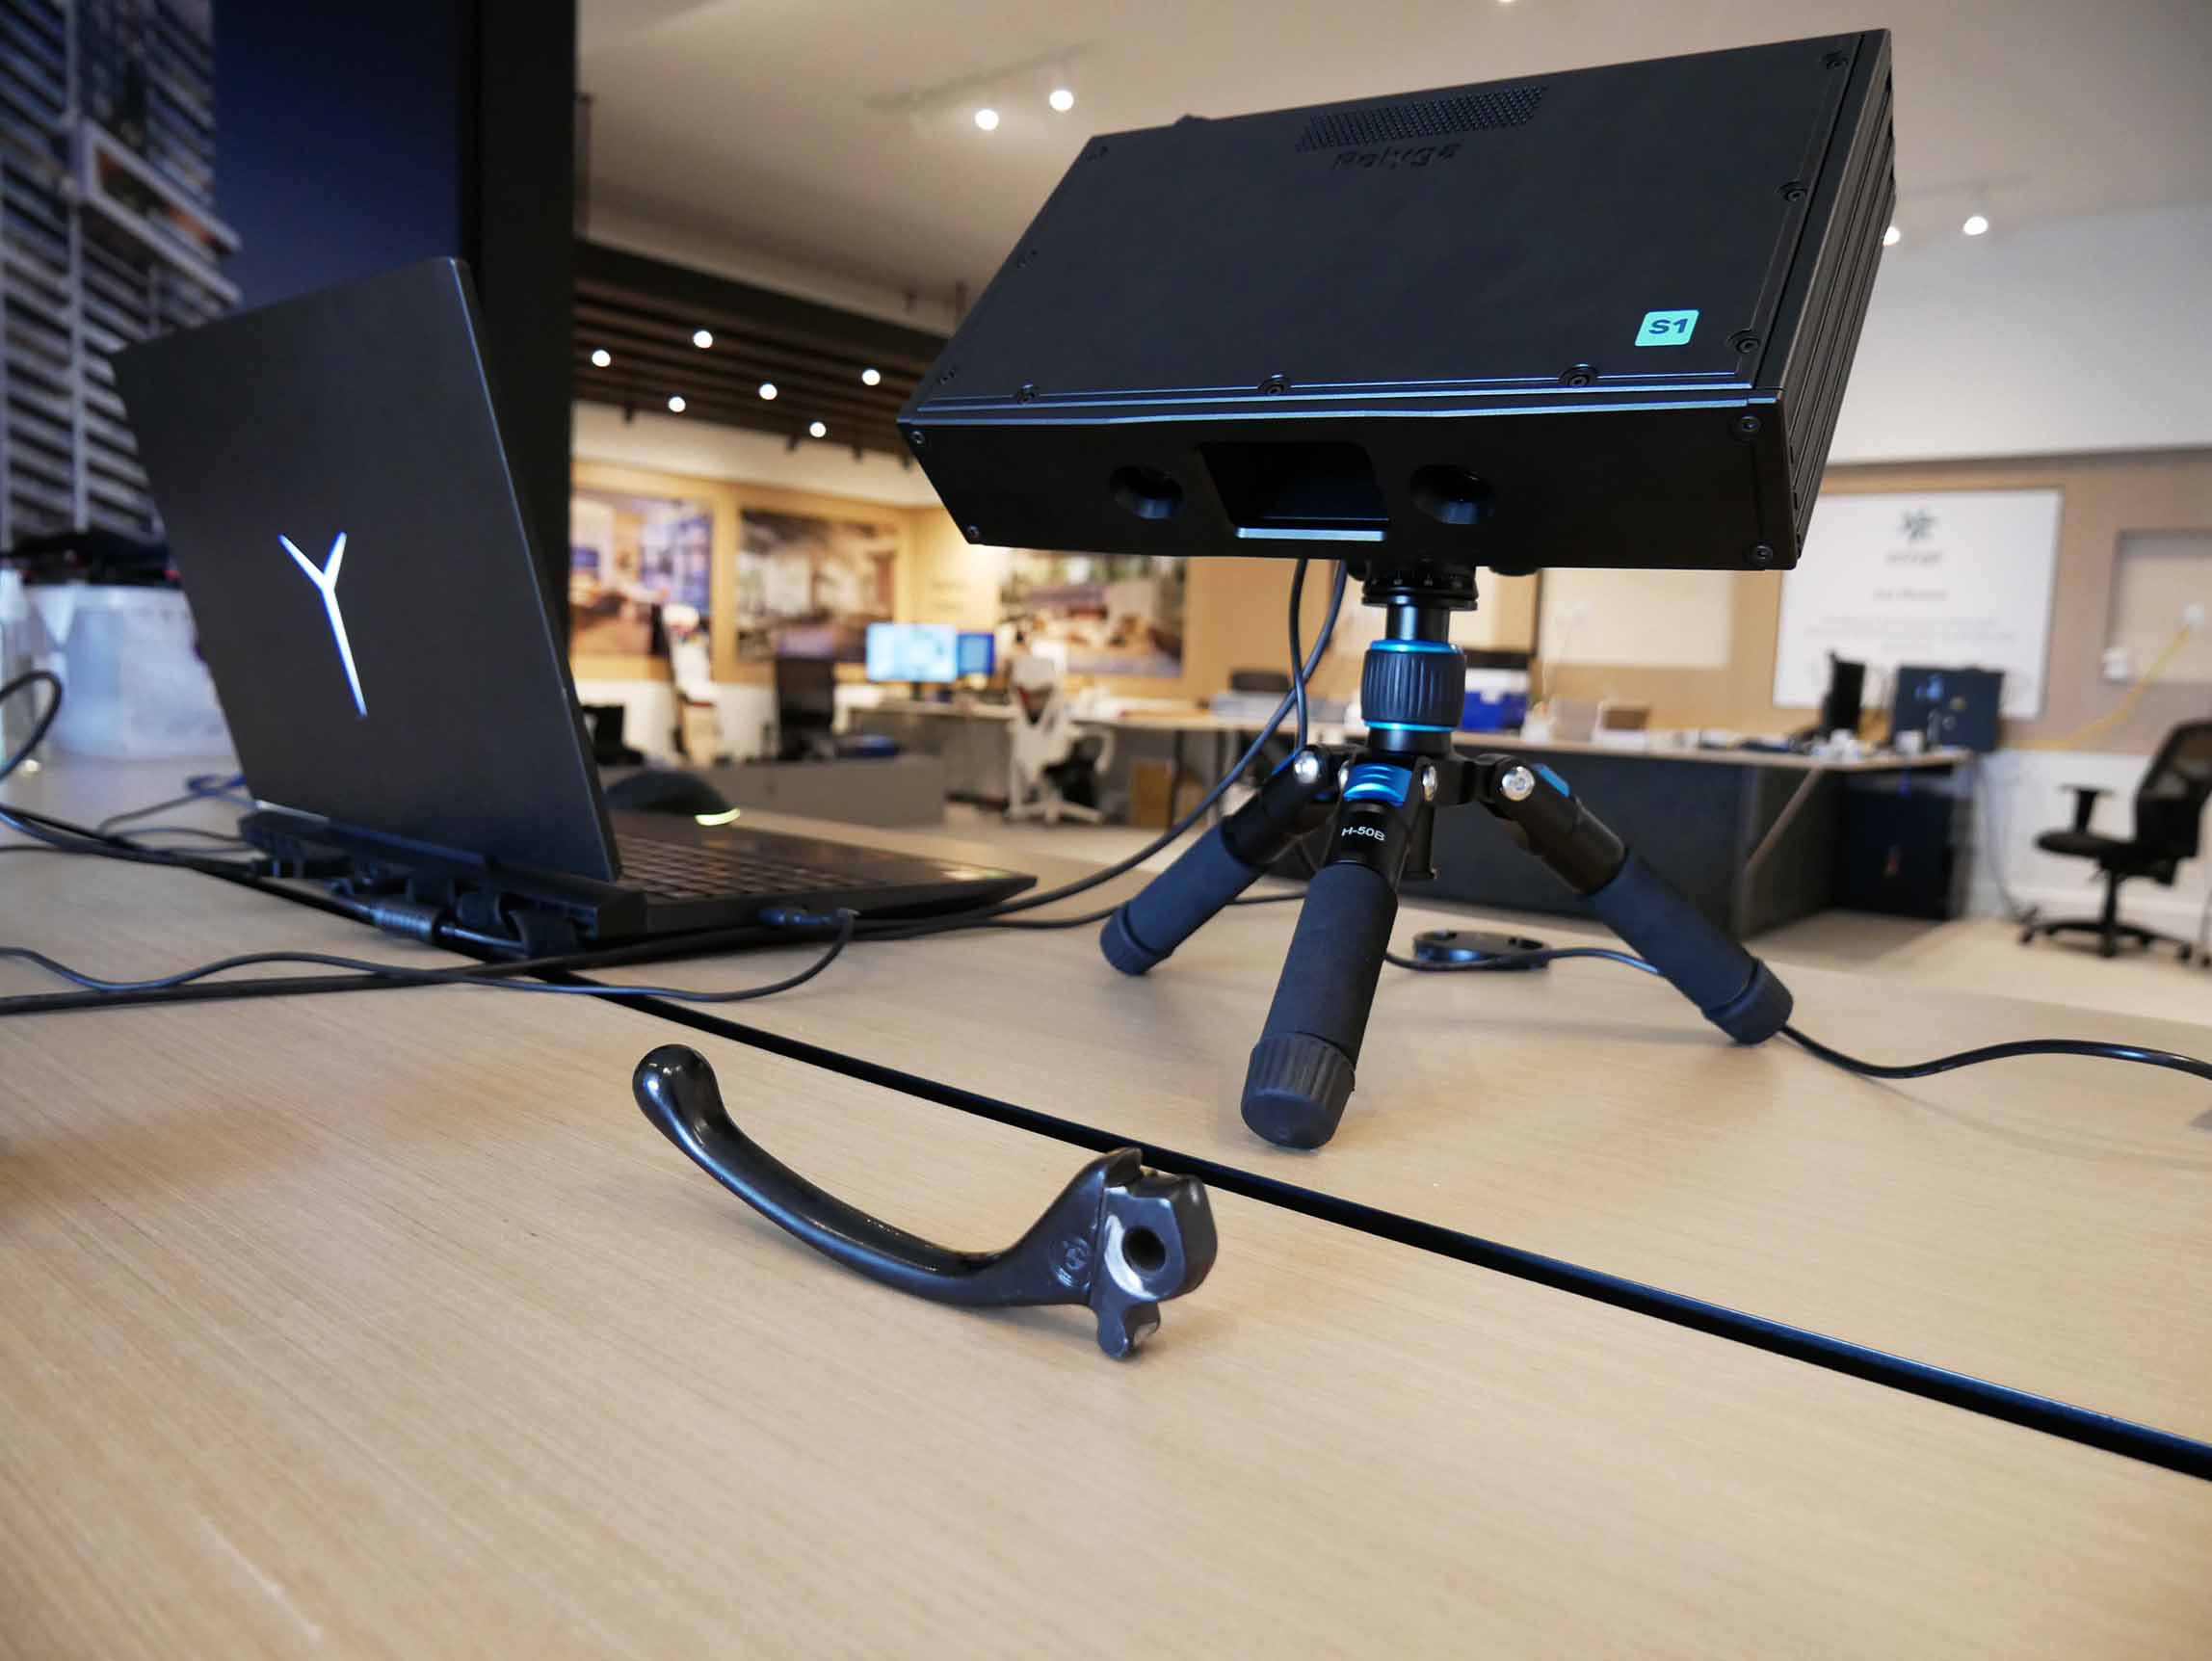
Solution: Polyga Compact S1, 3D Scanner Spray, FlexScan3D Software.
Section 1: Lighting Matters More Than You Think
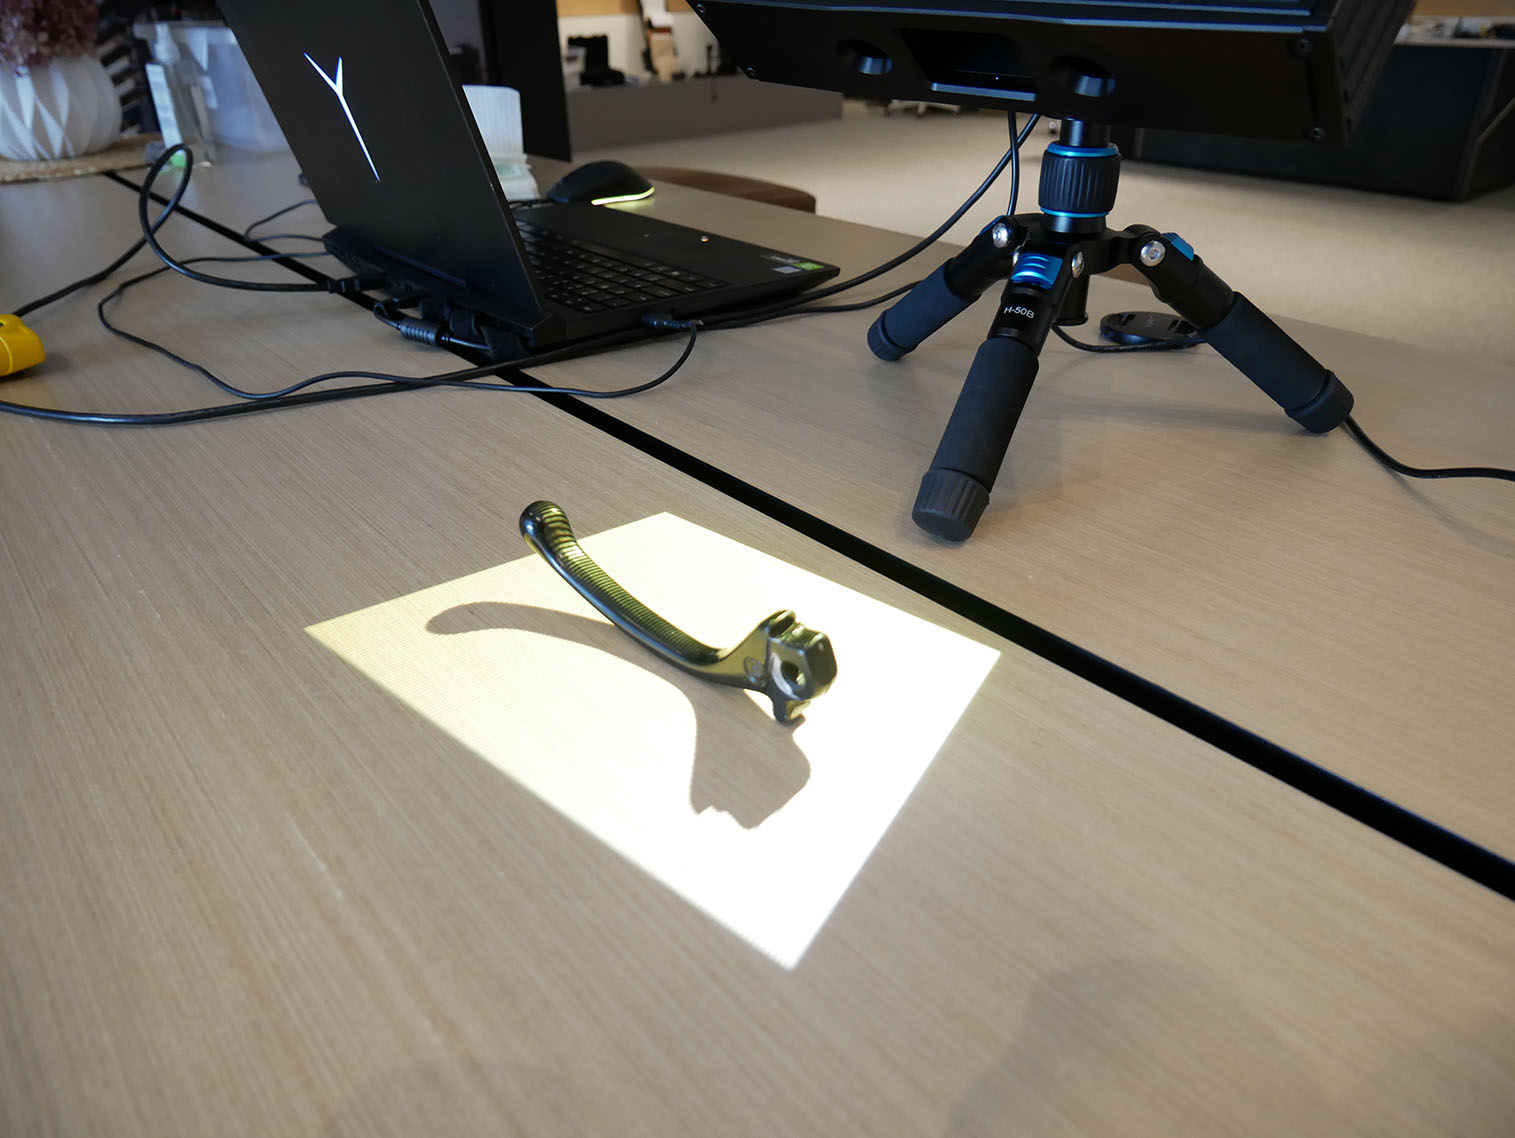
Figure 1. Proper lighting and camera settings
During my first 3D scan, I learned the importance of having the right camera exposure settings and lighting conditions. Adjusting the camera exposure and projector brightness has a profound impact on the quality of your 3D scans. Shadows and uneven lighting, over-exposure or simply too dark of shiney of an object can introduce artifacts into the scan, affecting the final result’s accuracy and detail.
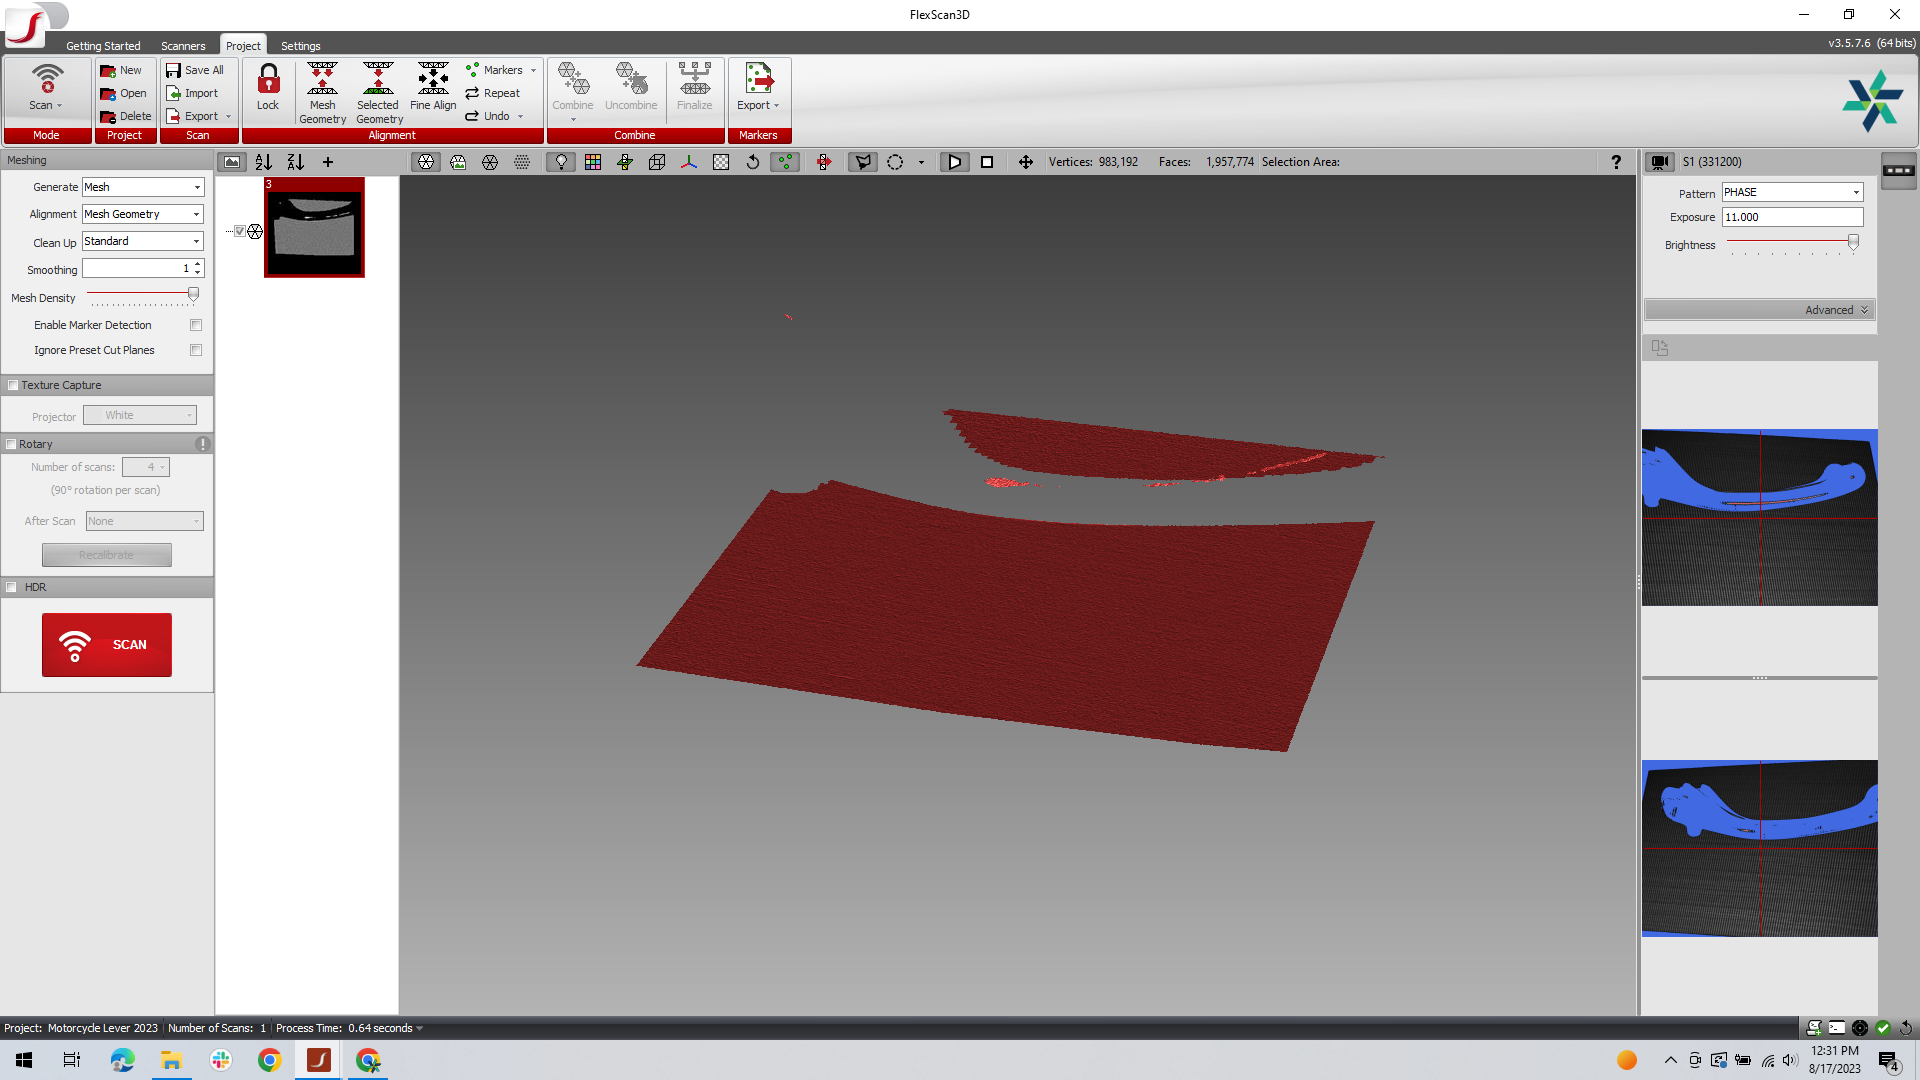
Figure 2. Scan surface too dark to recieve scan data
Setting up a controlled lighting environment can significantly enhance the clarity of the scan and reduce the need for post-processing adjustments. Even with the right lighting my gloss black lever would not show up at all; enter 3D scanner spray.
“However vast the darkness, we must supply our own light.” — Stanley Kubrick
Section 2: 3D Scanner Spray, Very Necessary
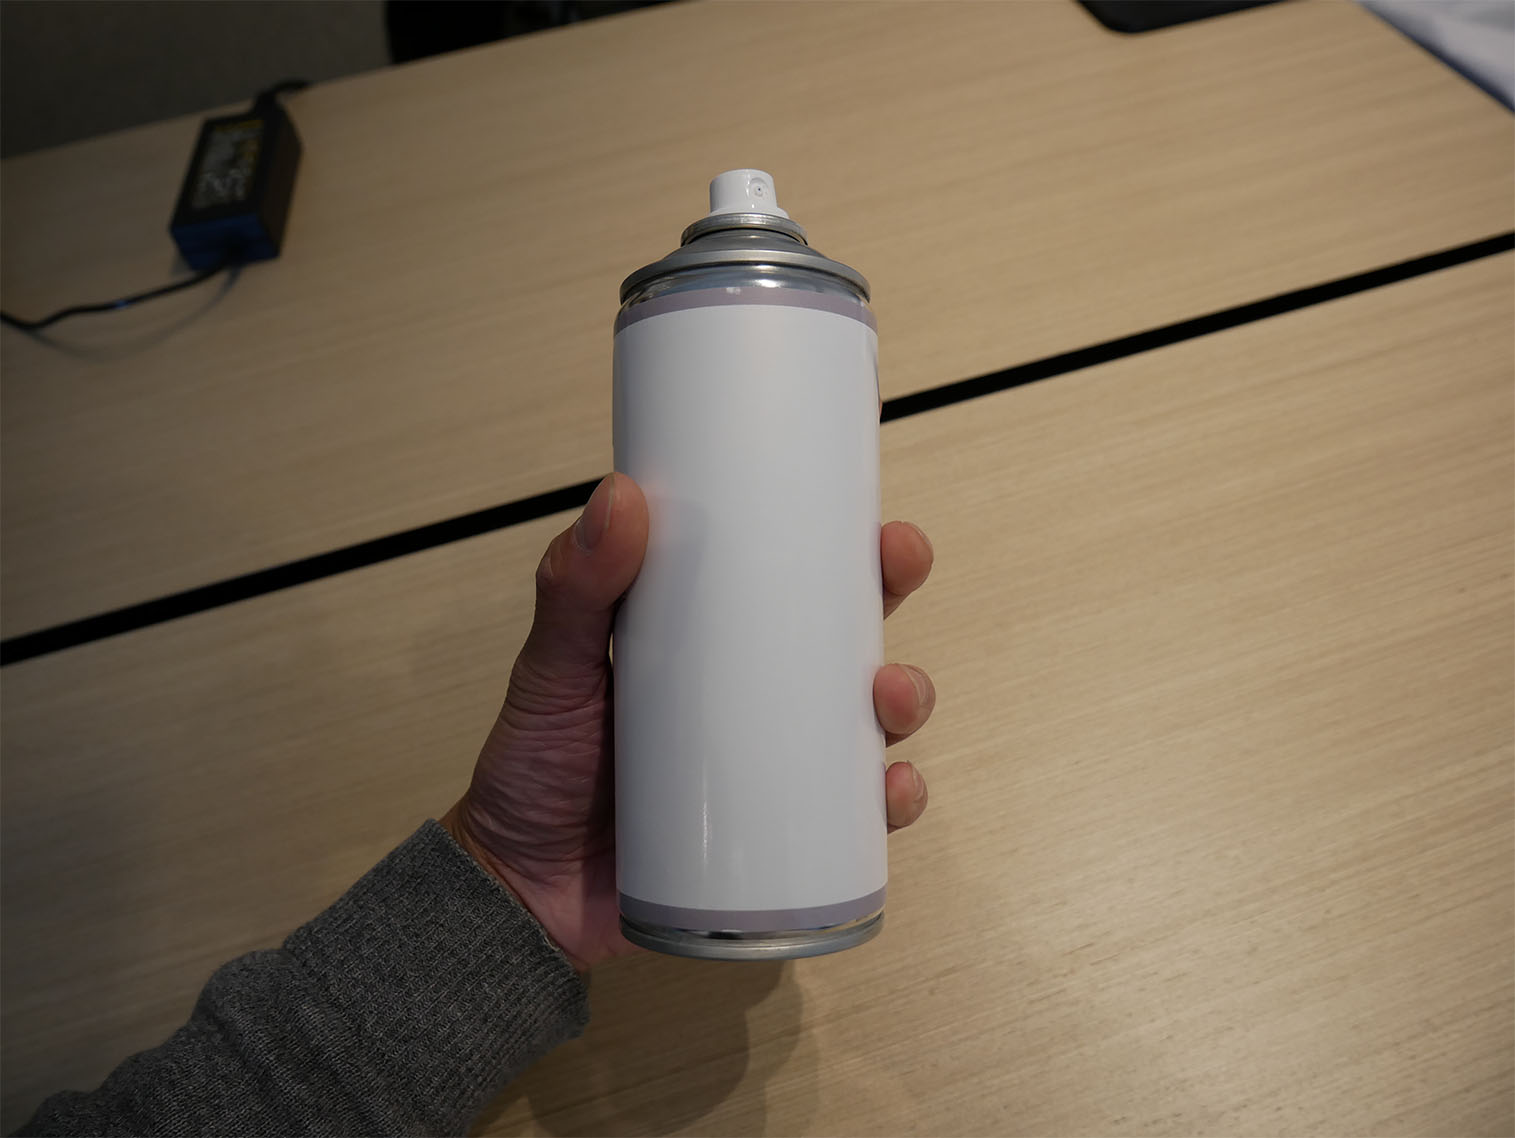
Figure 3. 3D scanner spray
3D scanner spray, also known as anti-reflective coating, developer spray or scanning spray, can greatly improve the accuracy and quality of 3D scans by reducing reflections and enhancing the texture of the scanned object’s surface. If an object is too dark or shiny; scanner spray is a necessity. Any technology has challenges but scanner spray has a few.
Pro Tip 1 – My more experienced colleagues suggested that next time, I should use sublimating 3D scanner spray instead such as AESUB Blue that dissapears after a set time and is less messier and easier to use. Will definitely give it a try my next 3D scan case study.
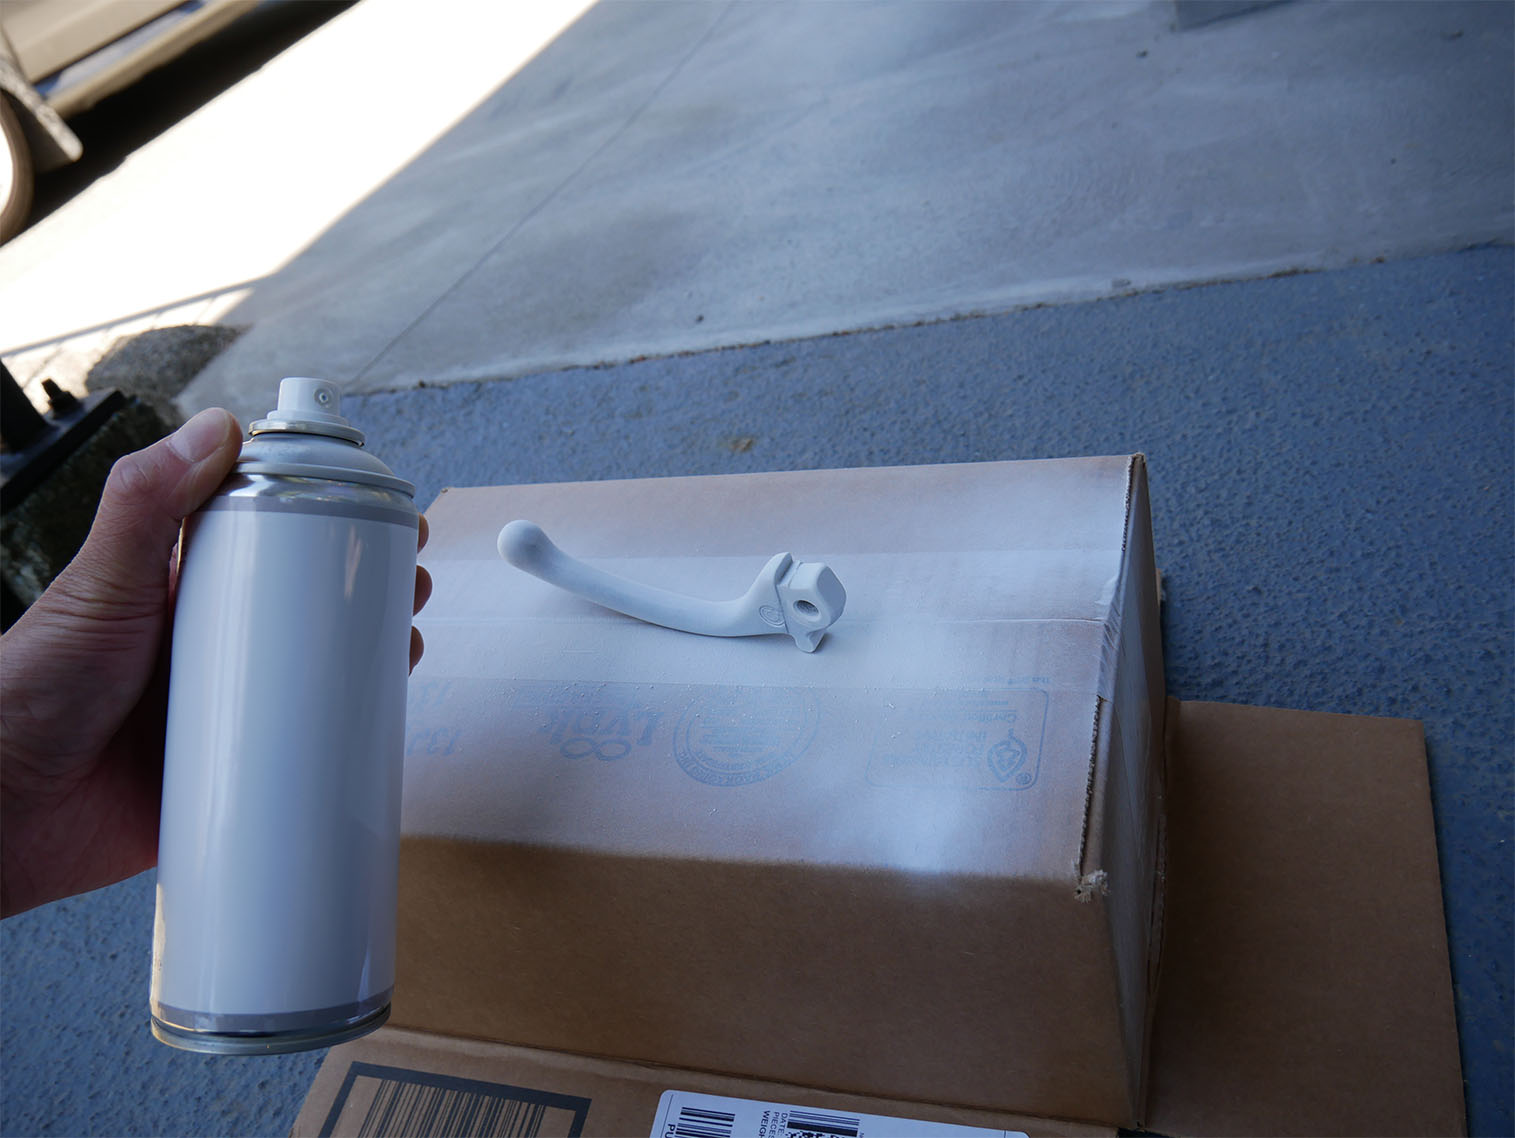
Figure 4. 3D scan spray challenges
The 3D scanner spray easily comes off on your hands and work area so be careful to set up your scan in a way that minimizes movement of the subject because every time you do can negatively affect the results as well as make a mess. I highly recommend you take it outside for the spraying process.
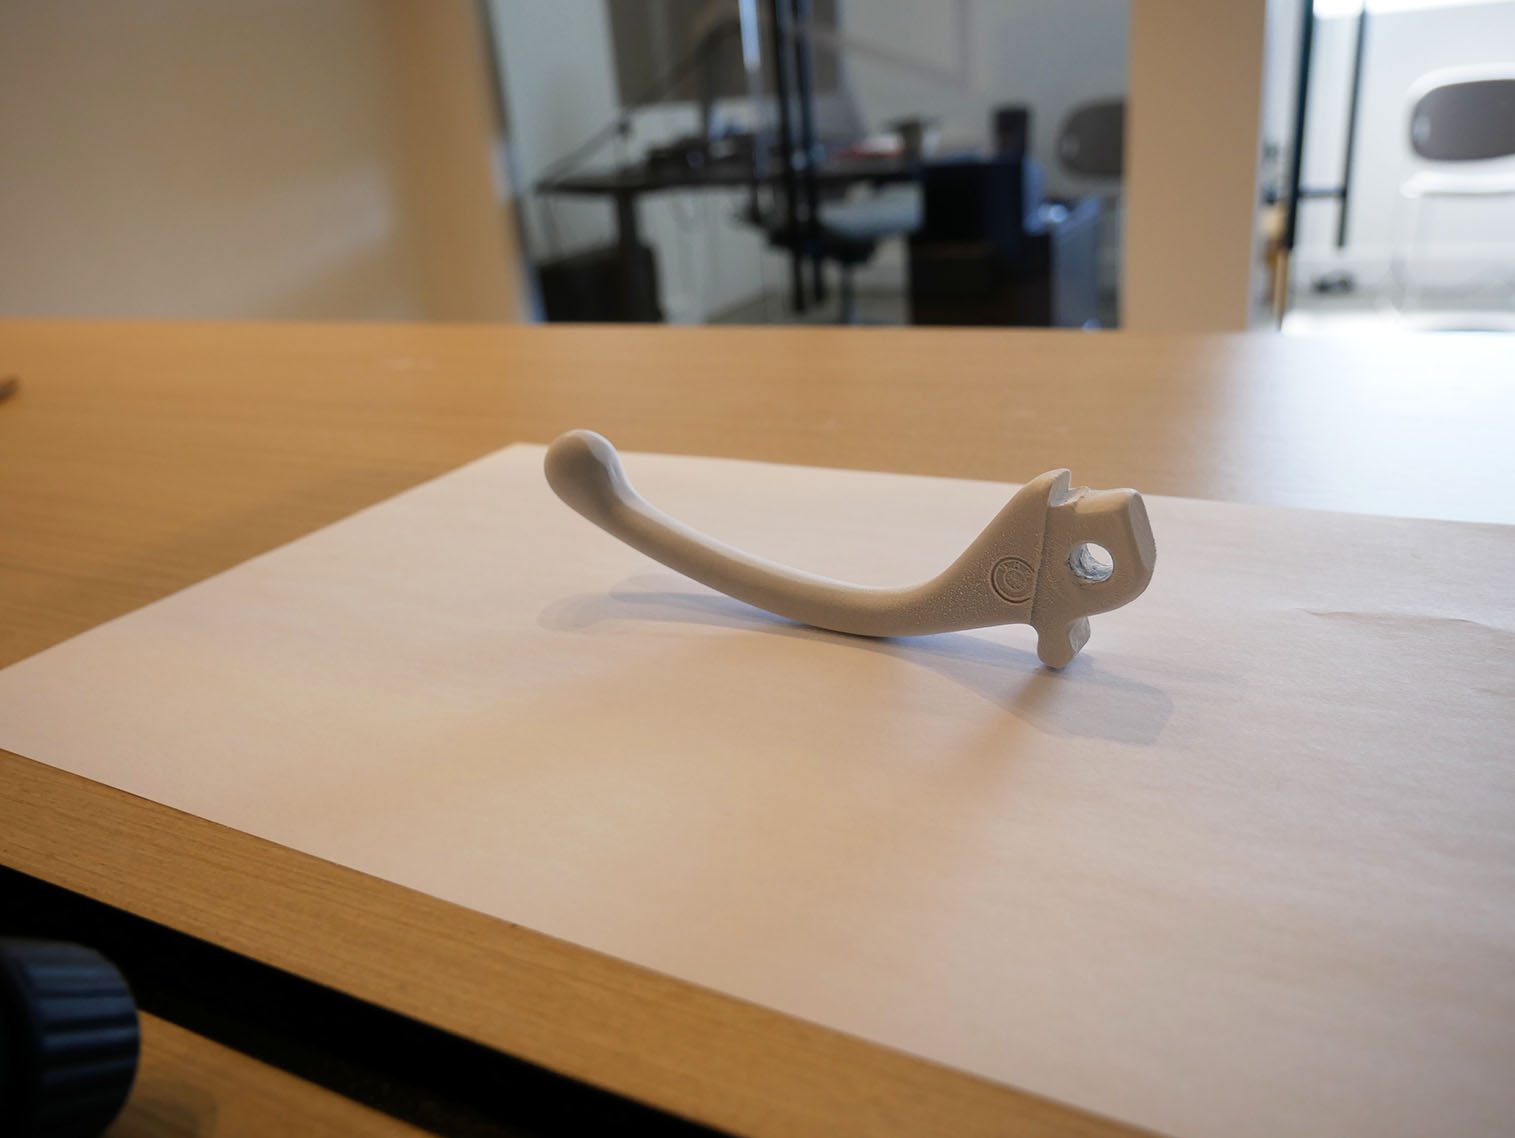
Figure 5. 3D scanner spray result
Sometimes you have to be quite creative. Applying the scanning spray evenly and in the right quantity is crucial. Too much spray can lead to excessive buildup on the surface and work area, causing inaccurate scans or difficulty in post-processing. Conversely, applying too little spray might not provide the desired reduction in reflections and surface texture enhancement.
Pro Tip 2 – If 3D scanner spray isn’t available, white dollar store hair dye spray is great inexpensive substitute.
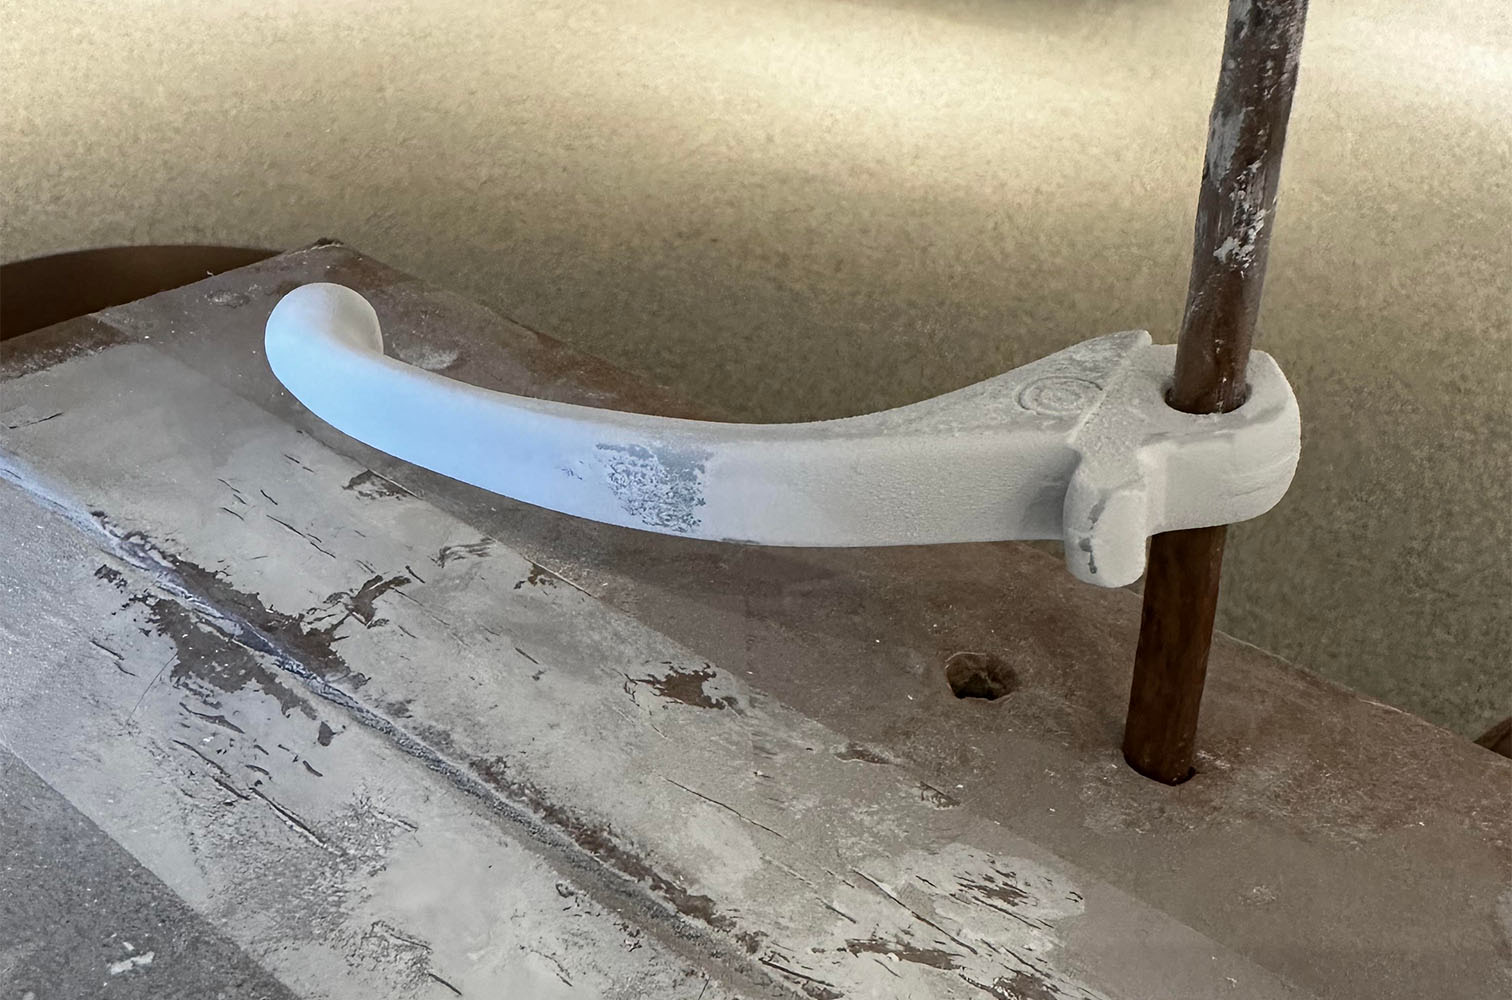
Figure 6. 3D scanner spray challenges
Section 3: Patience Yields Precision
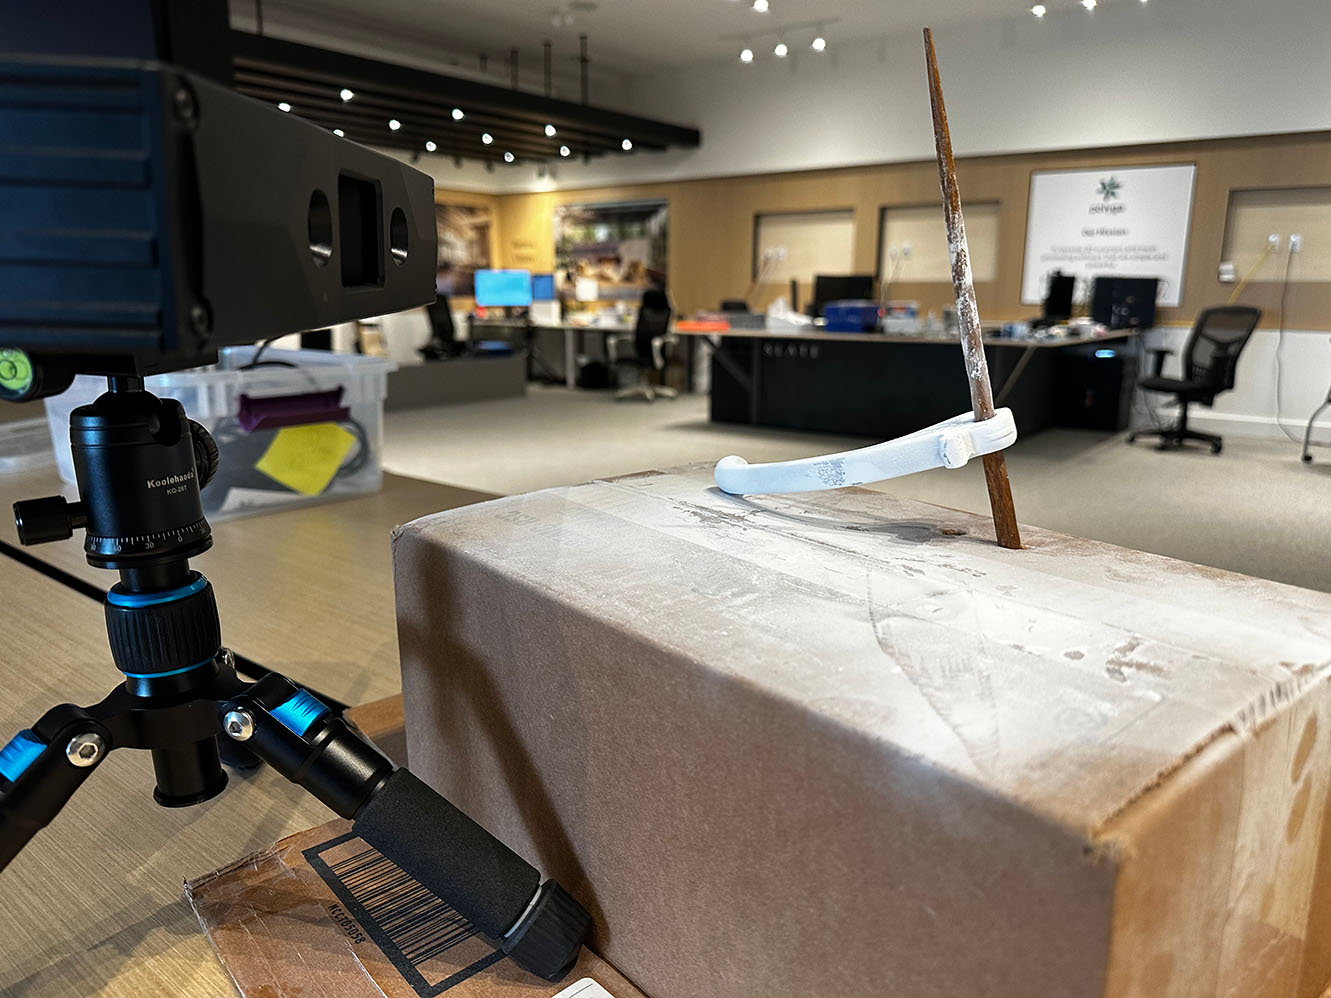
Figure 7. Patience, a steady hand and mind
In 3D scanning just like in life, patience emerges as a steadfast companion. One of the most important lessons I discovered early on is the vital role patience plays in the world of 3D scanning. Achieving accurate scans requires meticulous attention to detail and a steady hand. Rushing the process can lead to distorted or incomplete scans, resulting in frustration and subpar results.
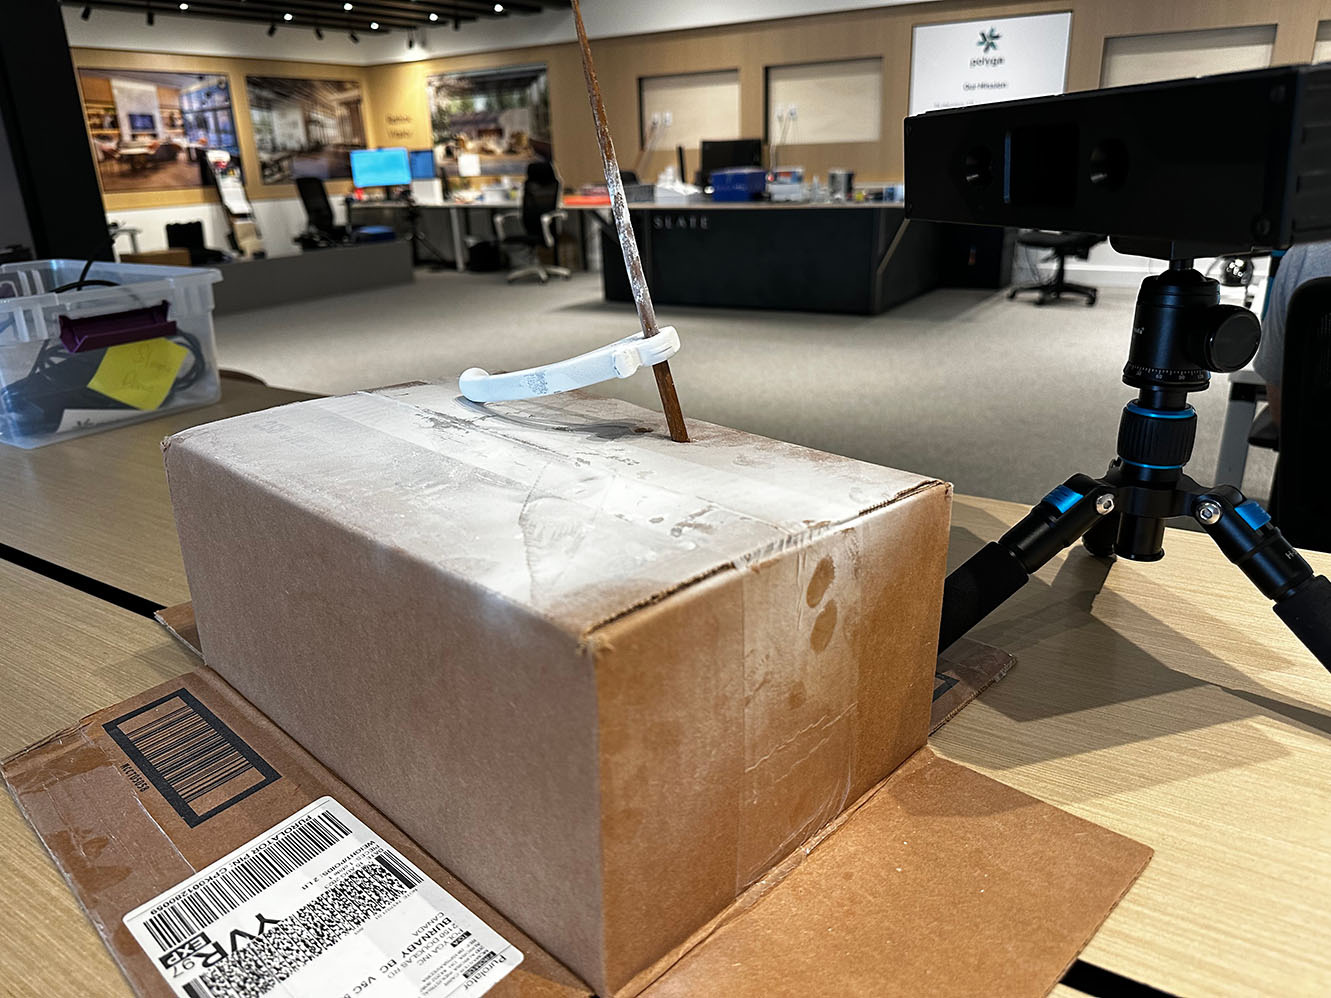
Figure 8. Repositioning led to refined results
Taking the time to set up the equipment properly, calibrate the scanner, and maintain a steady pace during the scan can make all the difference in capturing a high-quality 3D model. Embracing patience also means embracing that fact that multiple scans and repositioning led to refined results, a testament to the idea that perfection requires persistence.
Section 4: Navigating the Challenges of Complex Geometries with Live View
The classic BMW motorcycle part I aimed to replicate possessed intricate and complex geometries that posed a formidable challenge. Learning to approach such intricacies with the right scanning techniques was essential.
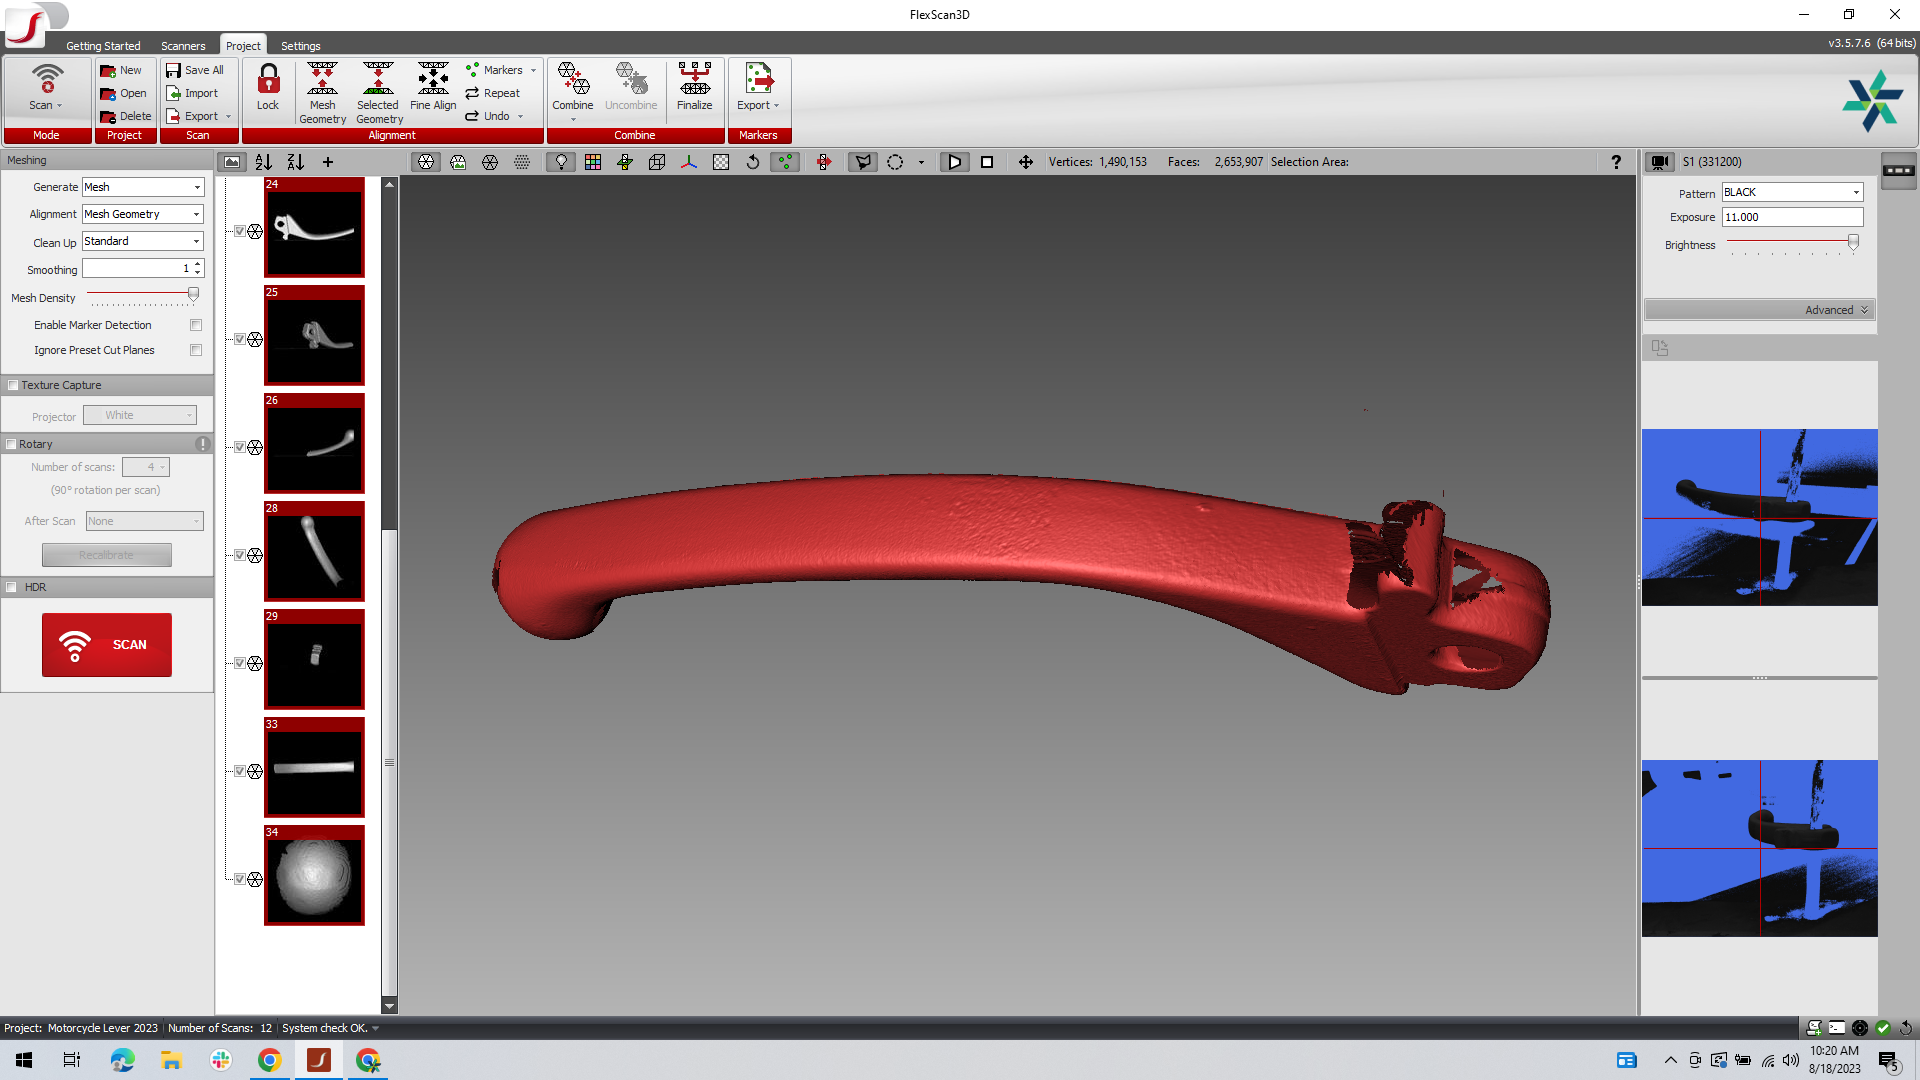
Figure 9. Navigating complex geometries with live view
While taking multiple scans, I had to manipulate the scanner to cover different angles in order to complete the mesh. I used the live-view mode in FlexScan3D as a guide to maneuver around curves, edges, and fine details, I discovered that employing different scanning angles and adapting the scanner’s exposure and projector brightness settings like allowed me to capture every contour with greater precision.
Section 5: Post-Processing Is an Art of Its Own
Completing the 3D scan is only the beginning; effective post-processing is the key to refining your scan into a polished 3D model. During my first experience, I quickly learned that post-processing requires its own set of skills and tools. Luckily for me I had access to powerful software such as FlexScan3D that made the process much easier.
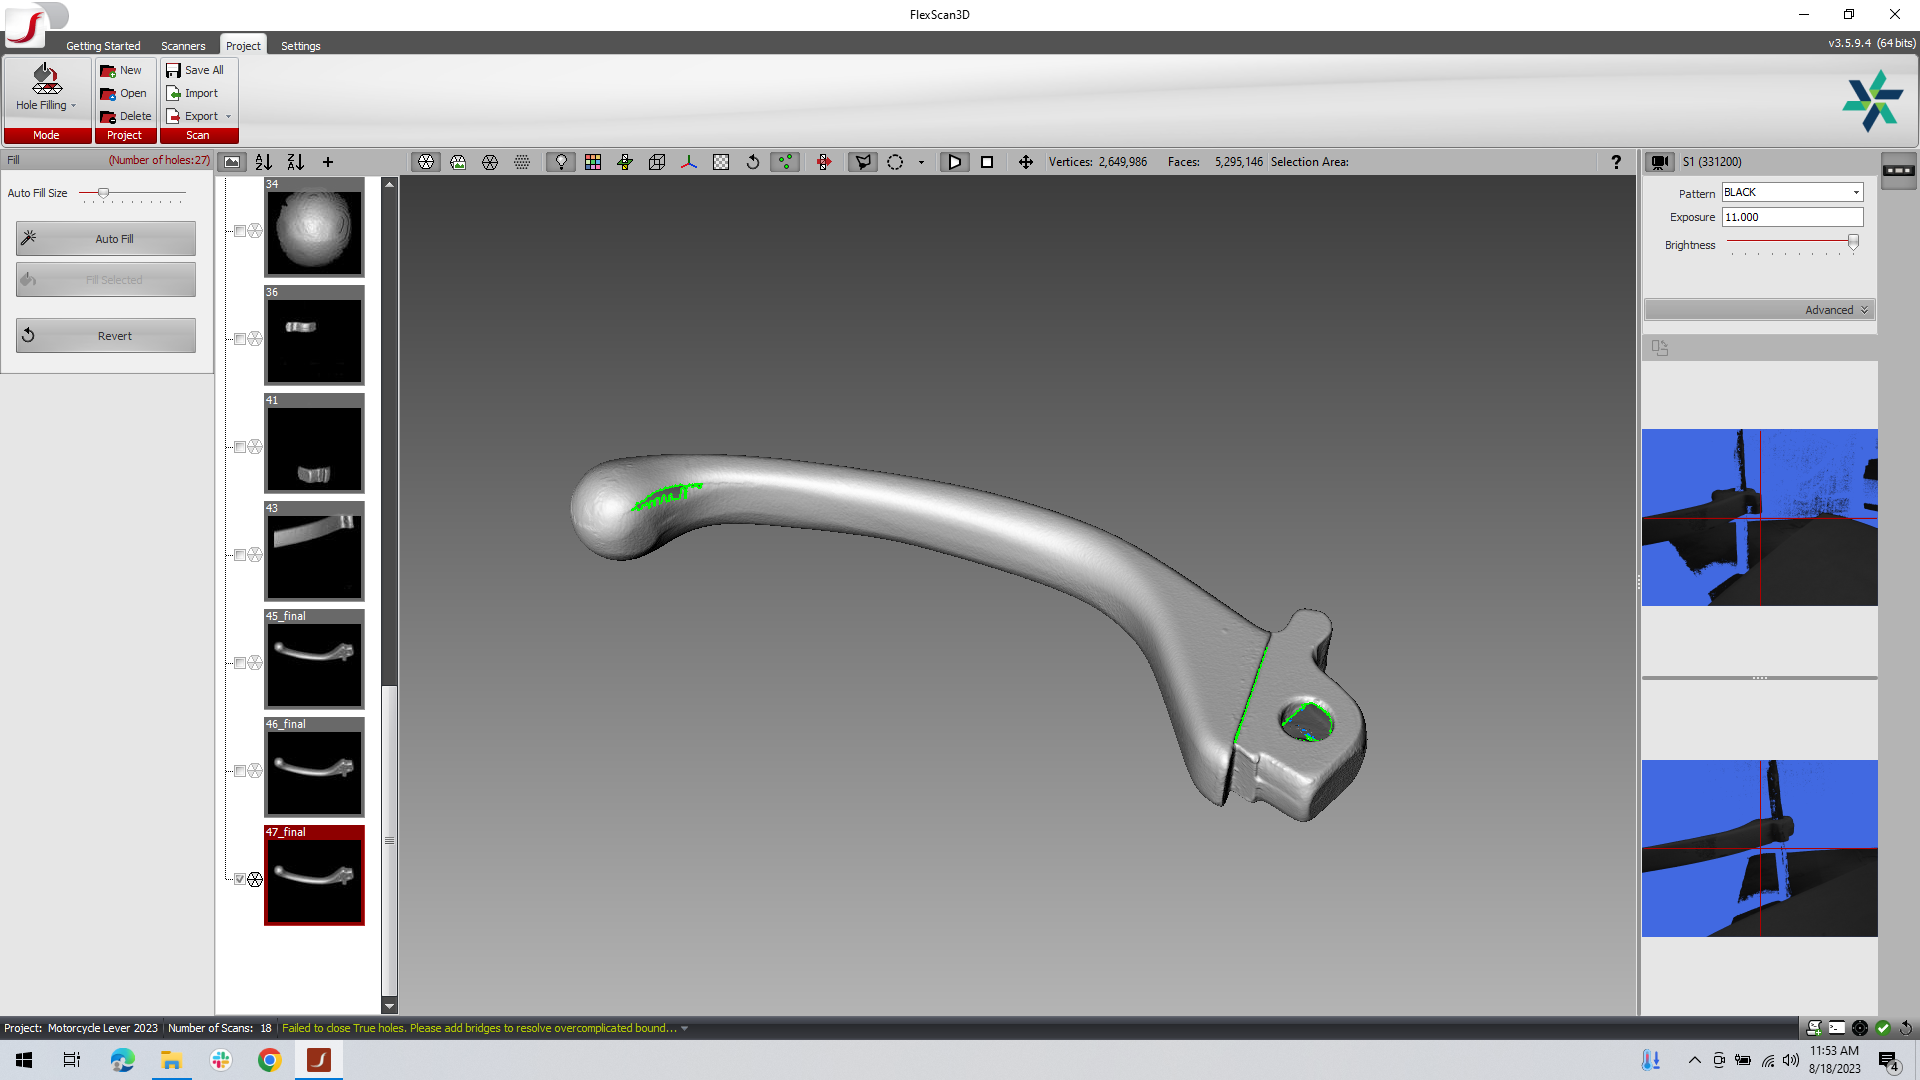
Figure 10. Post-Processing like an artist
Cleaning up noise, gaps, aligning scans, and hole filling all demand attention to detail and an understanding of software features. FlexScan3D is top of the line for post-processing.
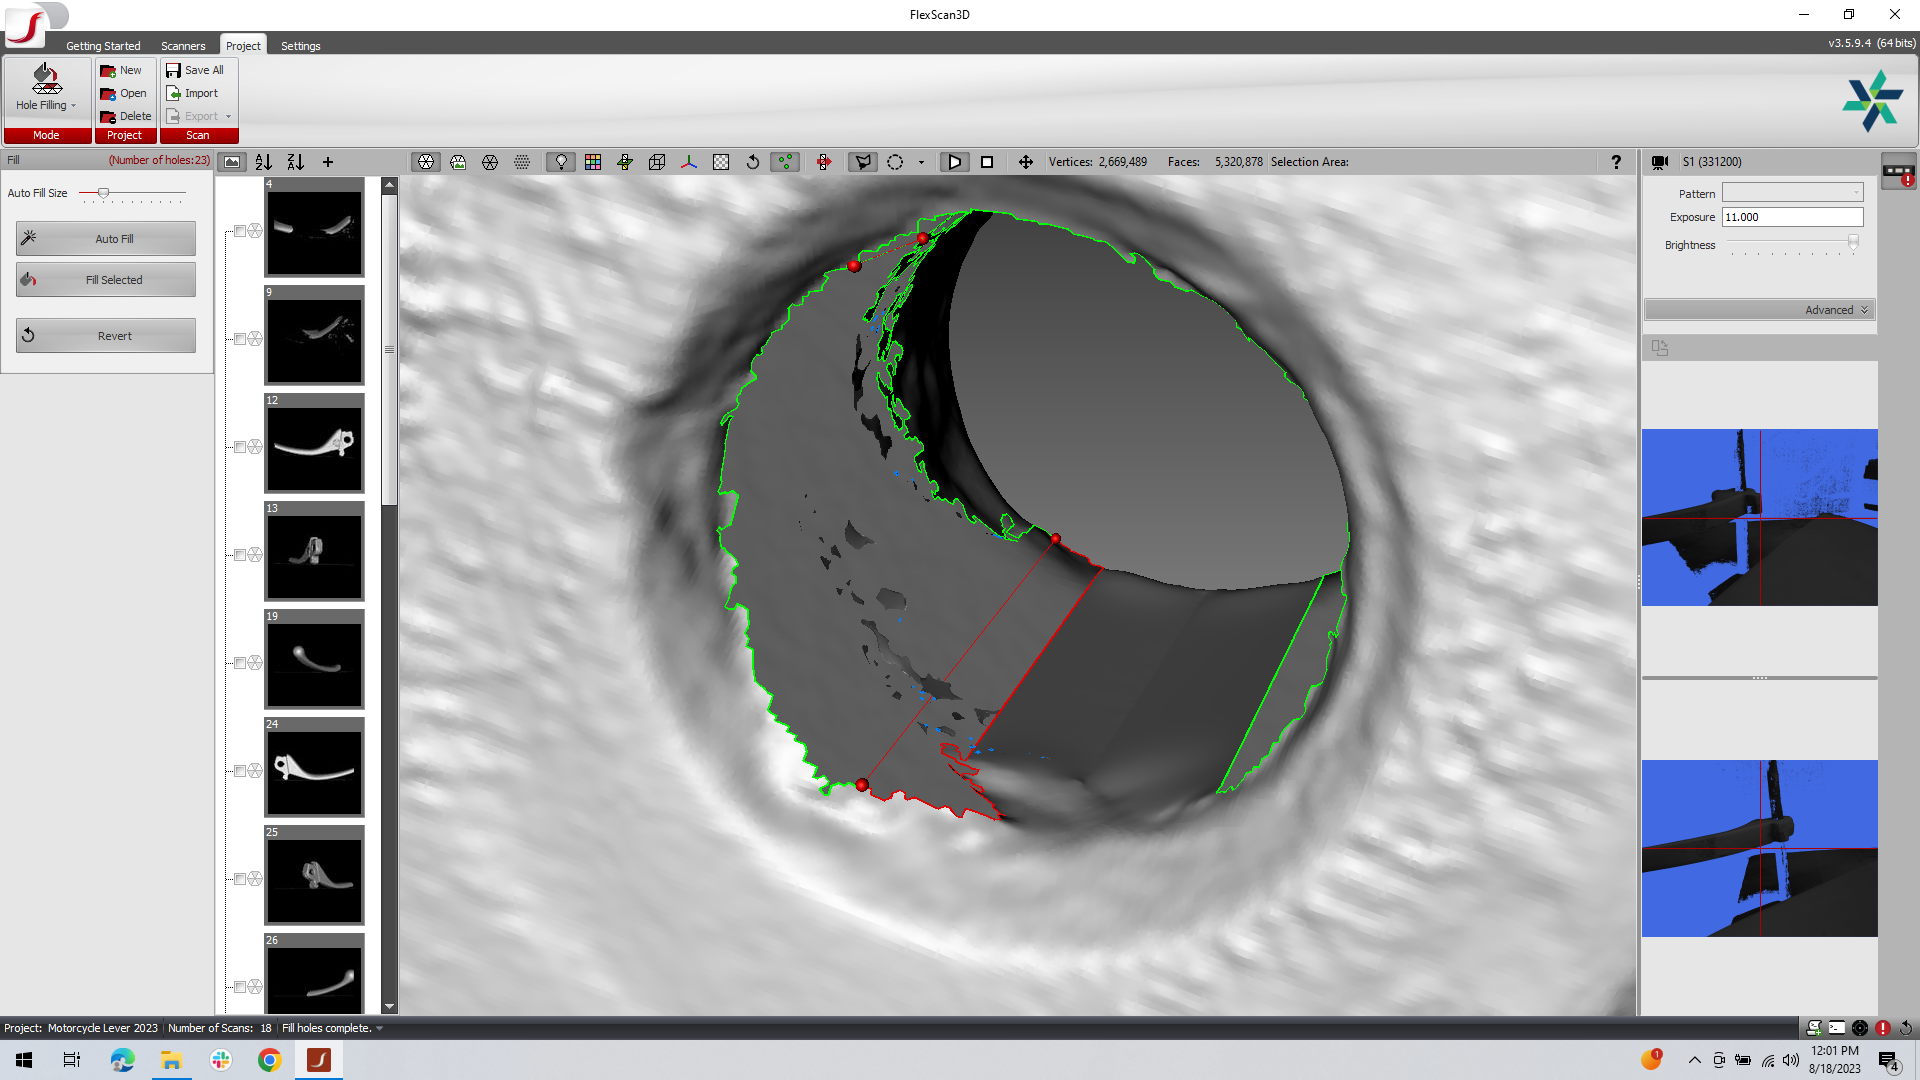
Figure 11. Hole-filling large gaps
Exploring the capabilities of FlexScan3D and learning techniques for smoothing and repairing scans can greatly enhance the final result.
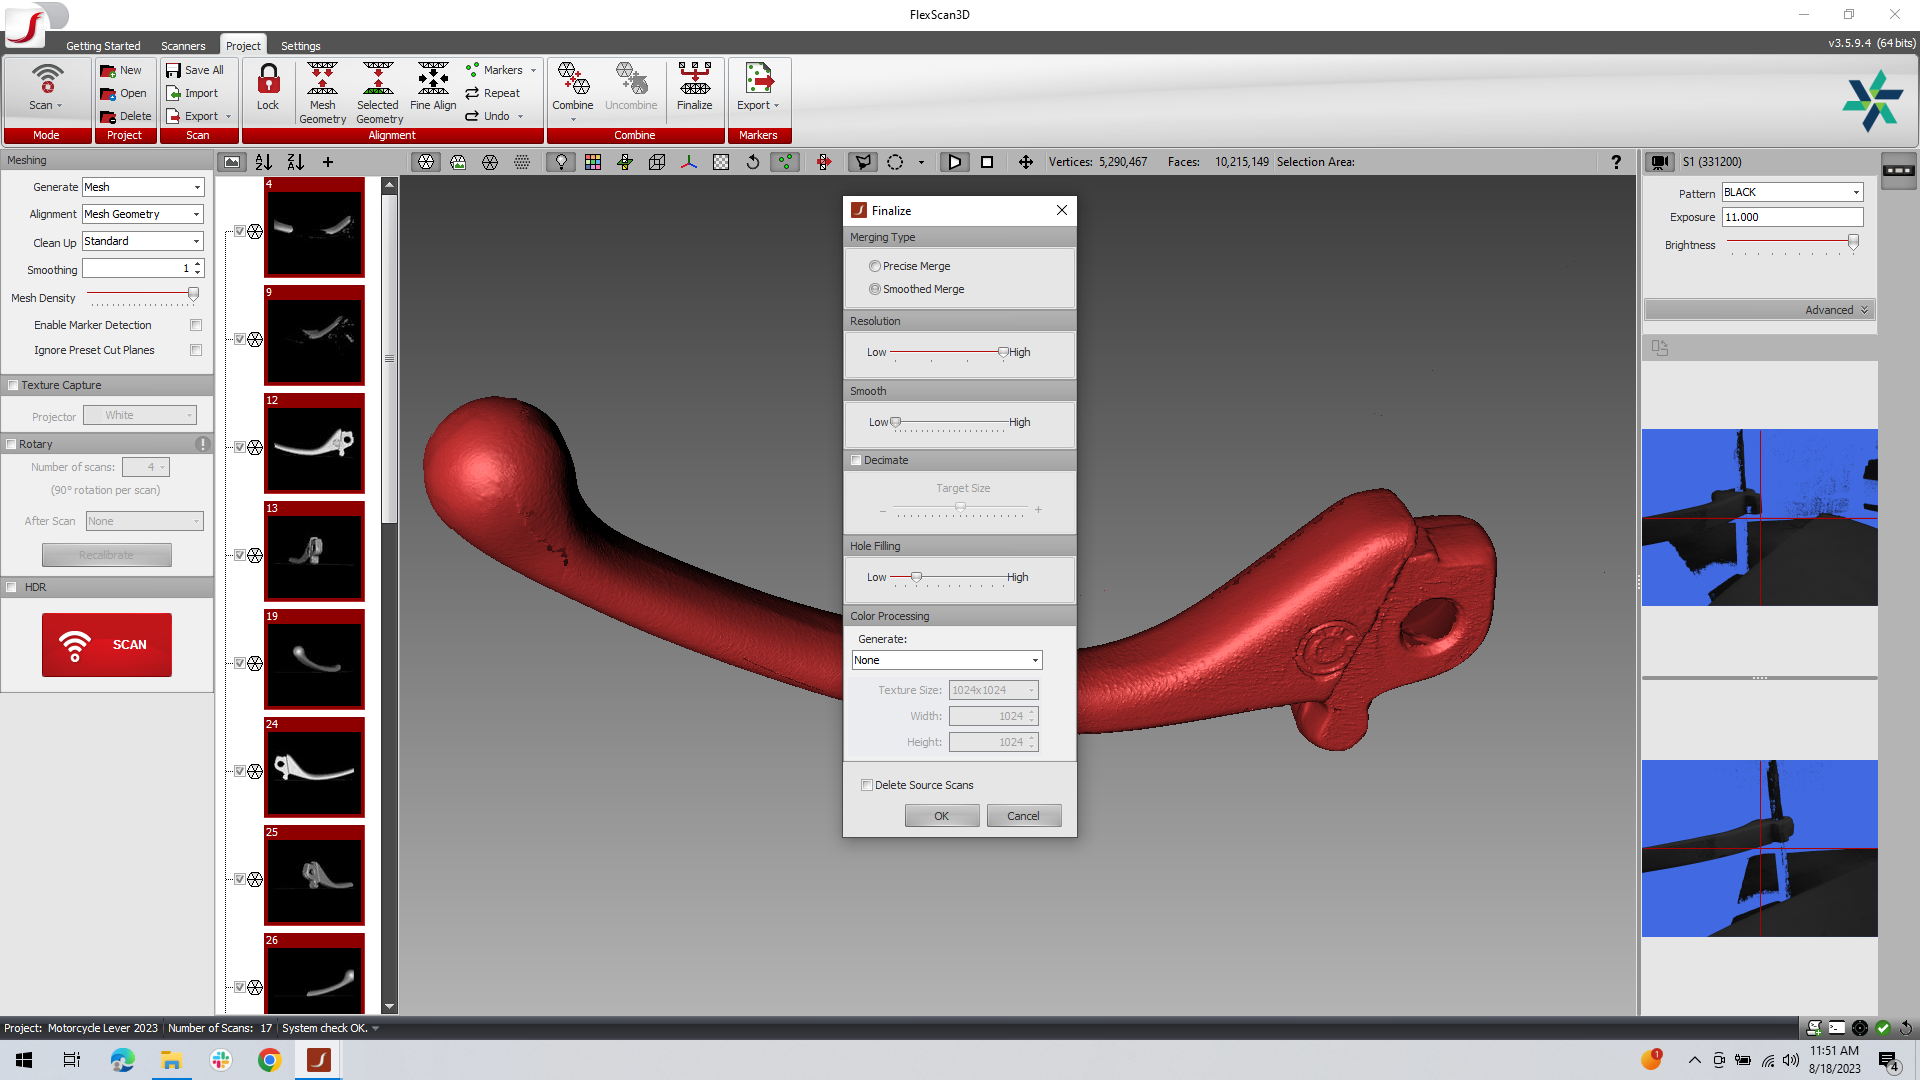
Figure 12. Final alignment and post-processing in FlexScan3D
Conclusion: Final Result
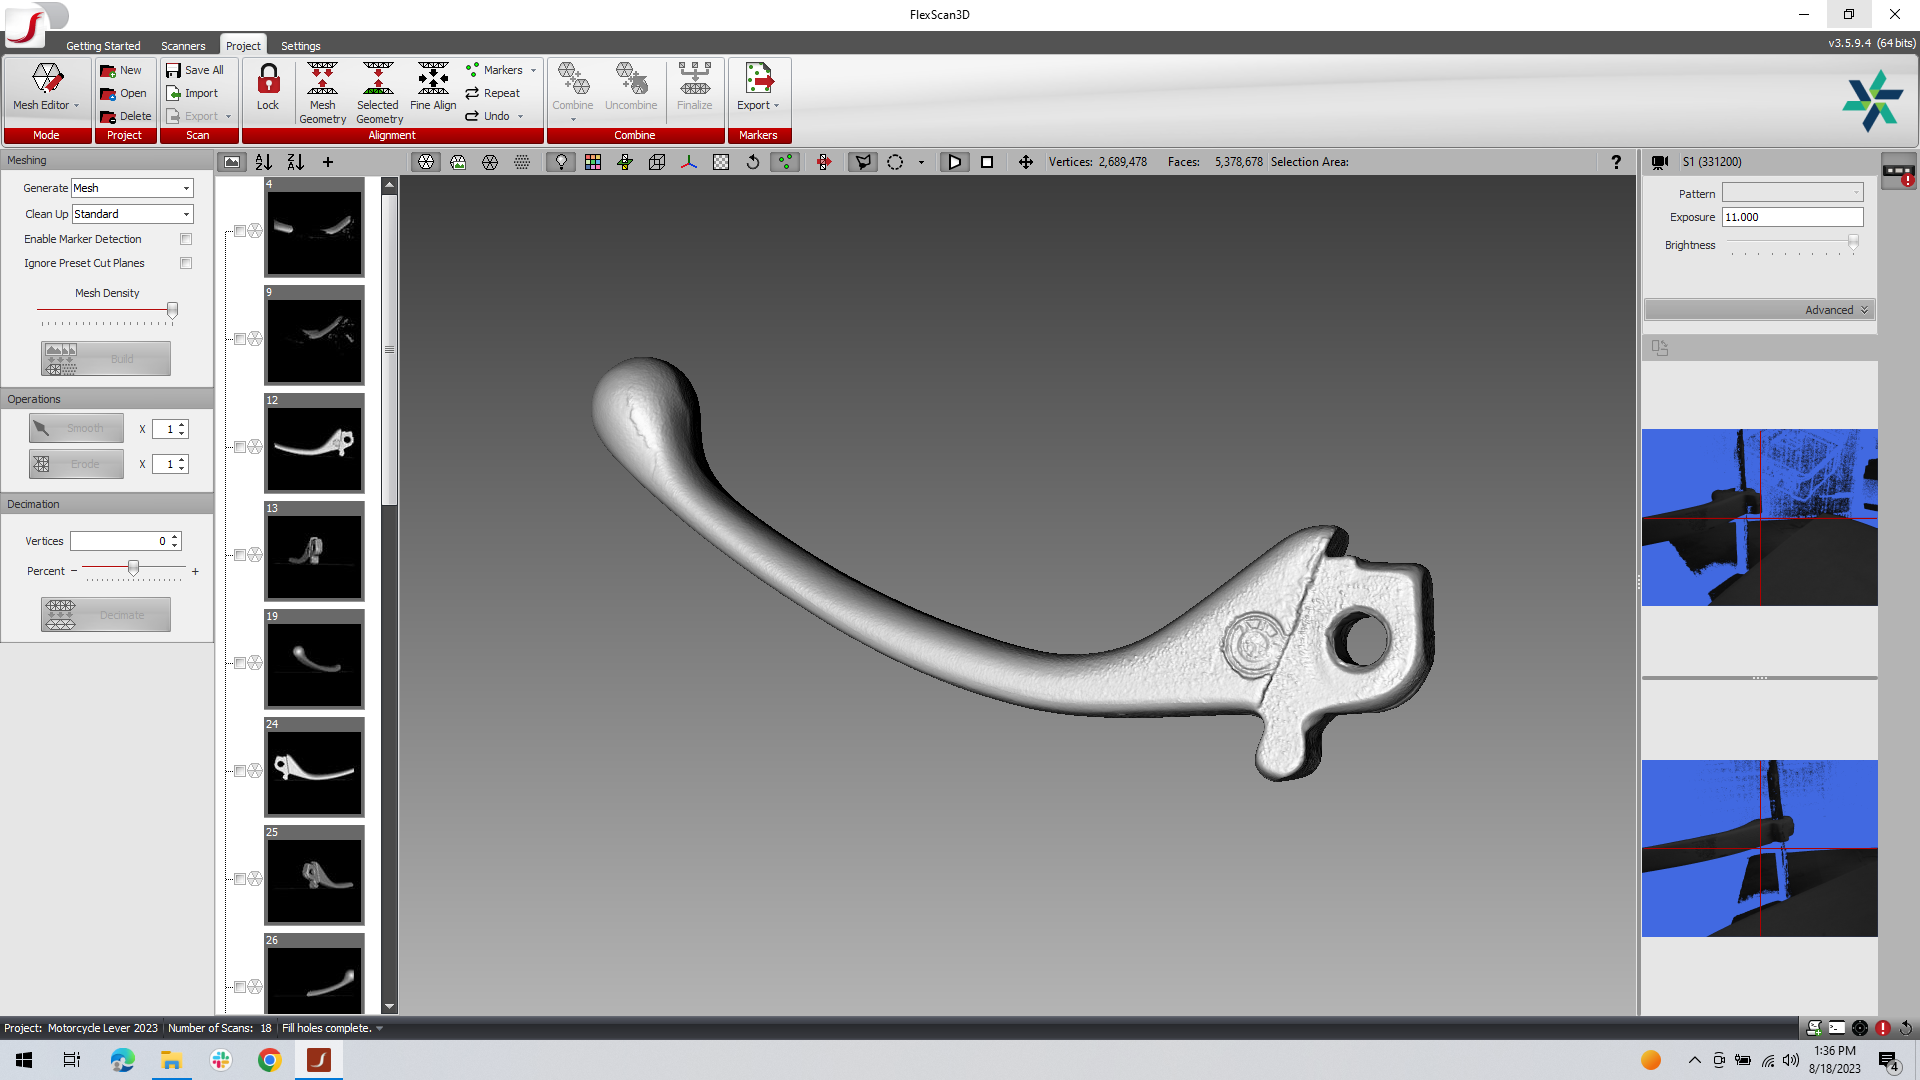
Figure 13. Final result
My first 3D scanning experience was a mix of excitement, challenges, and discovery. From patience and lighting to subject selection, post-processing, and continuous learning, every aspect of the journey taught me valuable lessons that have paved the way for better results in future scans. I very much underappreciated the power of post-processing, many times when thought I may have to start the process all over; the amazing tools in FlexScan3D bailed me out. This allowed me to be successful on my very first attempt.
As technology evolves and my skills continue to grow, I look forward to exploring the endless possibilities that 3D scanning has to offer. If you’re just beginning your own personal journey into the world of 3D scanning, remember that each scan is a chance to learn and improve, ultimately leading to more accurate and captivating 3D models.
I hope that this article is helpful to you on your 3D scanning journey.
And, if you have any other questions about what type of scanner is right for your project,
feel free to send them to our sales team at sales@polyga.com, and they will be happy to help.
Best regards,

Ace Le
Polyga Inc.
Vancouver, British Columbia, Canada
Email: contact@polyga.com
Website: Polyga.com
